Troubleshooting the Content Styler v2

This article explains how to resolve common issues that you may experience using the Content Styler. If you find an issue that is not covered in this article, please email ctl@scu.edu.au for support and assistance.

How do I fix text that is not formatted correctly?

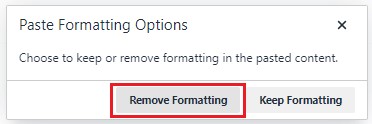
Text that has been copied from a Microsoft Word document contains formatting information that must be removed.

Example

Cause

Solution

The text has been copied from a Word document into a Blackboard content item without removing the original formatting by selecting the "Remove Formatting" button. This means that Blackboard will maintain the original format (the size/font used in the Word document) and so the text will look different than the default format that the content styler creates.

  1. Ensure that Edit mode is turned on
  2. Edit the item with the text by clicking on the chevron arrow next to the item title
  3. Select the text that has not been formatted correctly
  4. Use the "Clear Formatting" button located in the toolbar above the text

Always clear formatting when copying from a Word Document

To avoid this issue in the future, always select "Remove Formatting" when copying text from a Word Document into a Blackboard item. 

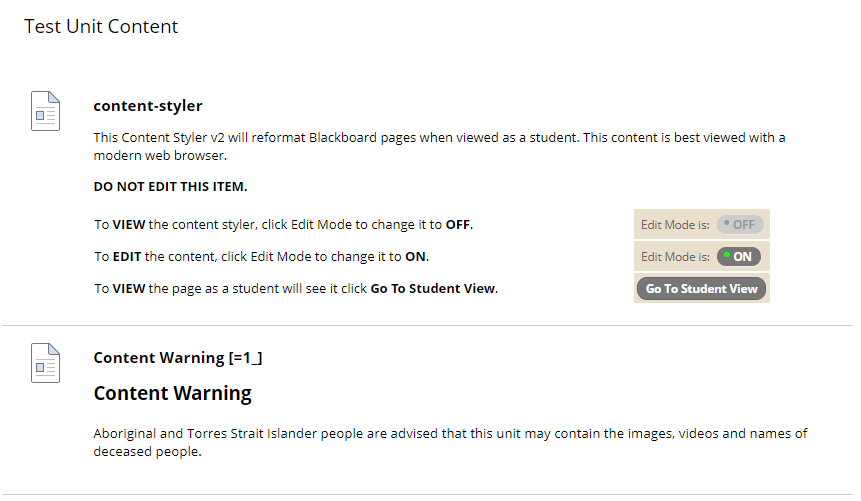
Why doesn't any content reformat when I turn edit mode off?

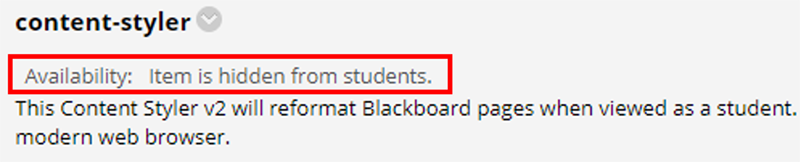
The Content Styler requires the "content-styler" item to be present in the "Unit Content" section and each module folder of your Blackboard unit site. If the "content-styler" item has been accidentally deleted, edited or hidden from students - then the content will not reformat after edit mode is turned off. In addition, the content types Learning Module and Blank page cannot be styled by the content styler.

ExampleCauseSolution

The "content-styler" item has been accidentally deleted, edited or hidden from students, which breaks the function of the styler to reformat the content.

  1. Ensure that Edit mode is turned on
  2. Check that the content-styler item is not hidden from students. If it is hidden, click on the down chevron arrow and choose "Make Available" to fix.
  3. Delete the broken content-styler item (click the chevron arrow next to the title and select delete)
  4. Locate a working content-styler item from another module folder
  5. Click on the chevron arrow next to the title of the item and choose copy
  6. Browse to the learning site, and then select the folder in which you are replacing the broken item
  7. Select Submit to perform the copy.

Still unsure?

You can also send an email to ctl@scu.edu.au with the details of the issue, the unit code and term and someone will contact you to help.

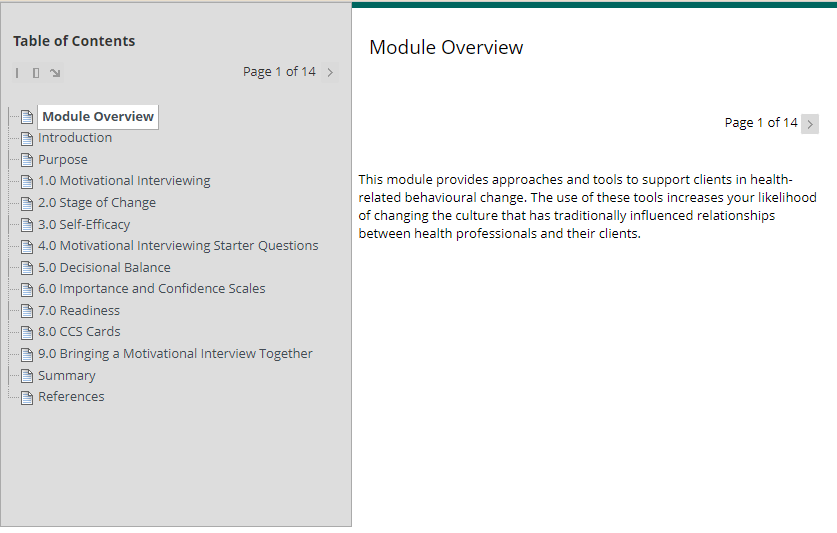
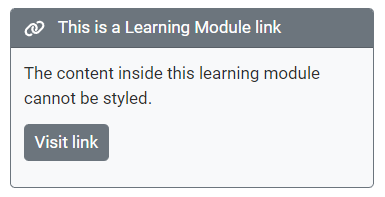
Learning modules have been used to house the content instead of content folders. These content Types are located under the Build Content menu in Blackboard.


  1. Ensure that Edit mode is turned on
  2. Create a content folder from Build Content > New Page > Content Folder. Name the folder appropriately with the module name.
  3. Copy the Content-Styler Item into the folder.
  4. Move each Item located from inside the Learning module into the content folder. To do this click on the down chevron arrow next to each item and choose Move.
  5. Delete the Learning Module.

Avoid using Learning Module and Blank page content types since the styler provides better navigation and functionality, which supersedes these Blackboard content types. In addition, content placed inside these content types cannot be styled.

Why are the wildcards not working when Edit mode is off?

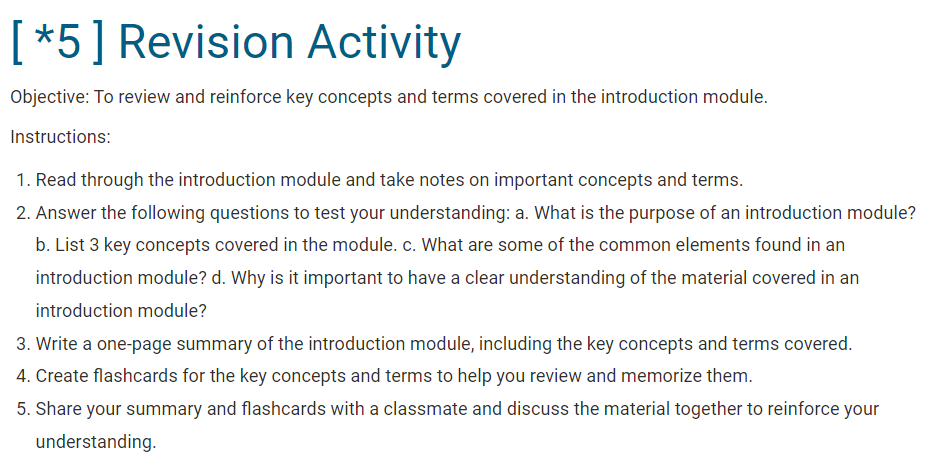
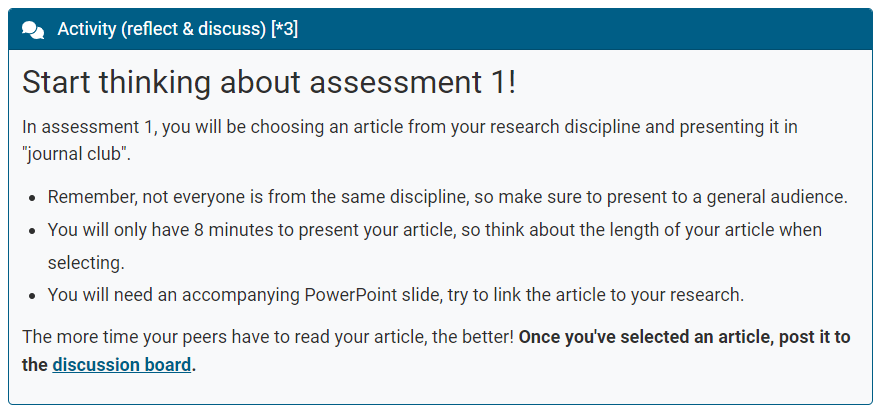
The Content Styler wildcards require the correct syntax, including Square Brackets and no spaces. The wildcards must be placed after other text in the Item Name.

ExampleCauseSolution

  • Blank spaces have been inserted inside the Square Brackets.
  • Text has been placed after the Square Brackets.
  1. Ensure that Edit mode is turned on
  2. Click on the chevron arrow next to the title of the item and choose Edit
  3. Change the Item Name to ensure;
    1. The wildcards are inside Square Brackets
    2. There are no spaces inside the Square Brackets
    3. The Square Brackets are placed at the end of the Item Name
  4. Select Submit to save the changes.

  • Multiple activity codes have been used in an item. When multiple sets of square brackets are used, the styler formatting is based on the last set of square brackets.
  1. Ensure that Edit mode is turned on
  2. Click on the chevron arrow next to the title of the item and choose Edit
  3. Change the Item Name to ensure;
    1. There is only one modifier icon used
  4. Select Submit to save the changes.

Why do I receive an error message when I turn edit mode off?

There is a range of error messages that you may encounter using the Content Styler when edit mode is turned OFF. This section details the common error messages and explains how these can be resolved.

Error messages are hidden to students

Note that the following Content Styler error messages are always hidden from "Student View". Students will never see any of these error messages regardless of whether or not the issue has been resolved.

ExampleCauseSolution

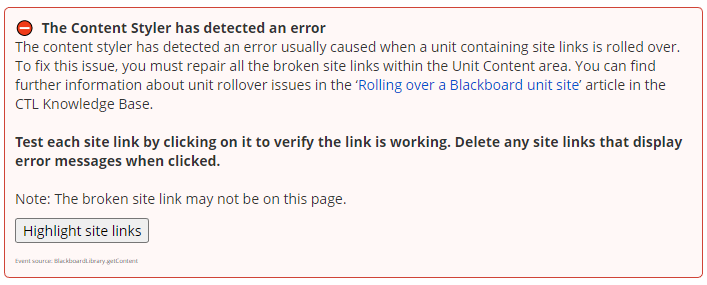
A least one Broken "Site Link" is present in your unit content area or module folders. This occurs when a unit site is copied and content linked by site links is not included in the copy.

  1. Ensure that Edit mode is turned OFF.
  2. Click on "Highlight site links" in the error message that displays, and a red border will surround all site links. Take note of where these links are located. You may need to navigate inside module folders to find all the site links.
  3. Turn Edit mode to ON.
  4. Click on each site link in turn and ensure the site link works.
  5. When an error message is displayed, delete that site link.
  6. Repeat this process for each module folder or until the content-styler error no longer displays.
  7. You can now create replacement Site Links as required. 

    Avoiding broken site links

    You can read more about broken site links and rolling over unit sites in this article: Rolling over a Blackboard unit site.

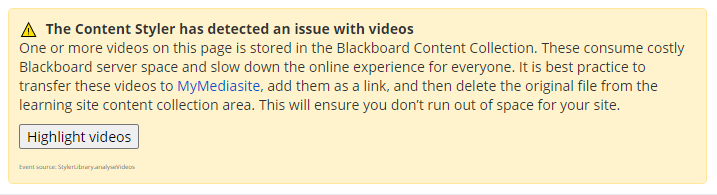
Videos have been uploaded directly to the Blackboard content collection area, instead of using a streaming service such as Mediasite or ClickView. This is usually because the plus + button has been used to upload an mp4 video file to a Blackboard item.
  1. Ensure that Edit mode is turned OFF.
  2. Click on "Highlight site videos" in the error message that displays, and a red border will surround all the content collection videos. Take note of where the videos are located.
  3. Turn Edit mode to ON.
  4. Navigate to the unit sites Content Collection area (located on the left menu under Site Management) and find the video files. Download a copy of the files (if needed) and delete the videos from the content collection and the Blackboard pages.
  5. Upload the video files to a streaming service such as My Mediasite.

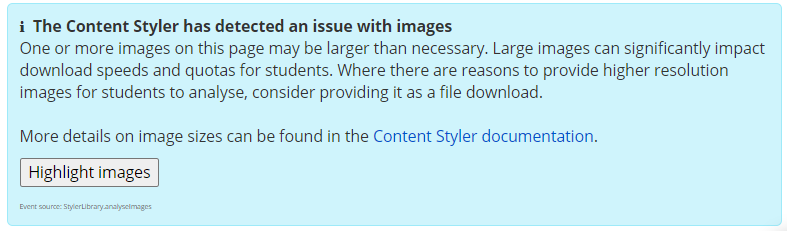
Images on the page are too large - negatively impacting the browsing experience for students.
  1. Ensure that Edit mode is turned OFF.
  2. Click on "Highlight images"
  3. A red border  will surround the images that are too large. Take a note of these images.
  4. Turn Edit mode to ON.
  5. Download these images (if required).
  6. To reduce the size of each image use image editing software and ensure the width of each image is no larger than 2000px. Most images should be 1150px wide or less, depending on how much screen real estate they take up. You can use the free version of  BeFunky to resize images.

  7. Replace the original images with the lower-resolution versions in Blackboard.

  8. Delete the original files from the Content Collection to save space.

    Where high resolution images are required

    You can add high-resolution images (e.g. satellite or NASA images) as a file using Build Content > File. This ensures that pages will load quickly and helps students to download large image files and save them for later.

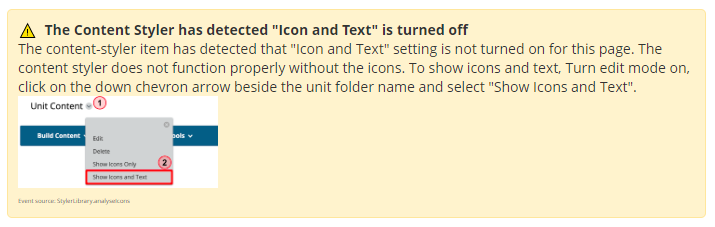
The display settings for the content folder have been changed from the default option show icons and text. The styler requires that this setting is unchanged to function correctly.

Note the error message will not appear if "Show Icons Only" is selected, but the content styler will still not load.

  1. Ensure that Edit mode is turned ON.
  2. Click on the down chevron arrow beside the content folder name.
  3. Click to enable "Show Icons and Text".

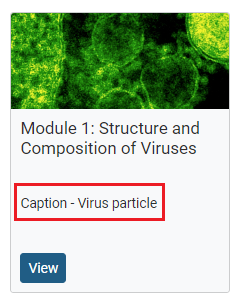
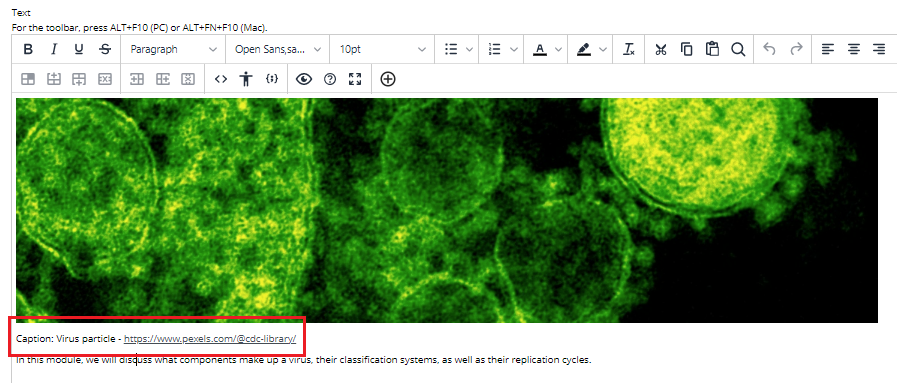
Why is caption for my module card not located under the card image?

If you have tried to add a caption to the "Module Card" image within the "Unit Content" section but it is showing up as "paragraph text"  and not as the smaller "caption text" format, there could be a couple of different reasons, see the table below.

ExampleCauseSolution

  • The caption text does not have "Caption:" directly before it.
  • The word "Caption" must be followed by a colon and then the caption text.

e.g. Caption: Virus Particle

  1. Ensure that Edit Mode is turned on
  2. Find the Module Content Folder and click on the chevron arrow, then select Edit.
  3. Find the text and ensure that you add "Caption:" before the caption text.
  4. Submit the changes.
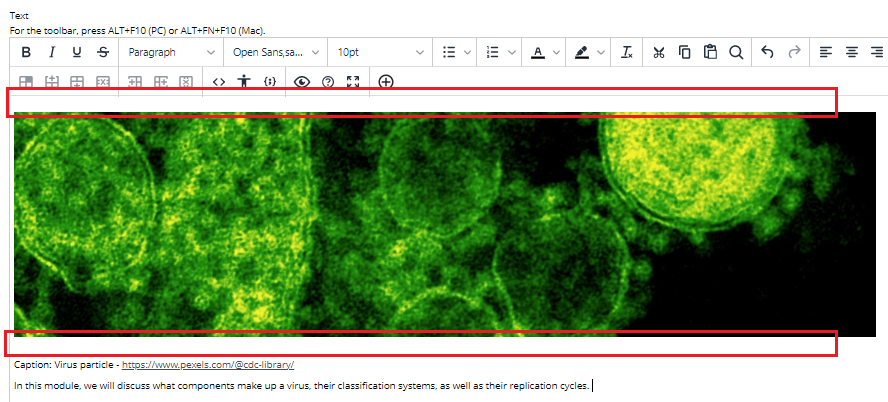
Blackboard automatically adds extra blank space above and below images. This formatting can affect the caption working.
  1. Ensure that Edit Mode is turned on
  2. Find the Module Content Folder and click on the chevron arrow, then select Edit.
  3. Delete the extra white space above and below the image (highlighted below in red).
  4. Submit the changes.

If this problem persists;

  1. delete the caption text,
  2. place your mouse cursor next to the right edge of the image,
  3. hit enter on the keyboard
  4. Add the caption text again. 

Further information about the Content Styler

Please see the following articles to learn more about how the Content Styler functions, what wildcards can do and steps to troubleshoot issues with the content styler. If you require further assistance troubleshooting, please email ctl@scu.edu.au.


(Please note - it's better to refer to the Online version rather than export, as it's always up to date)