Recording the meeting
When setting up/scheduling your meeting, you have the option to record the meeting.
- SCU Staff Zoom Accounts: There are two recording locations to choose from, locally or to the cloud.
- SCU Student Zoom Accounts can only record locally.
Below are the steps outlined for both the Zoom client (Windows & Mac), and the Zoom web portal.
Zoom Client
Windows
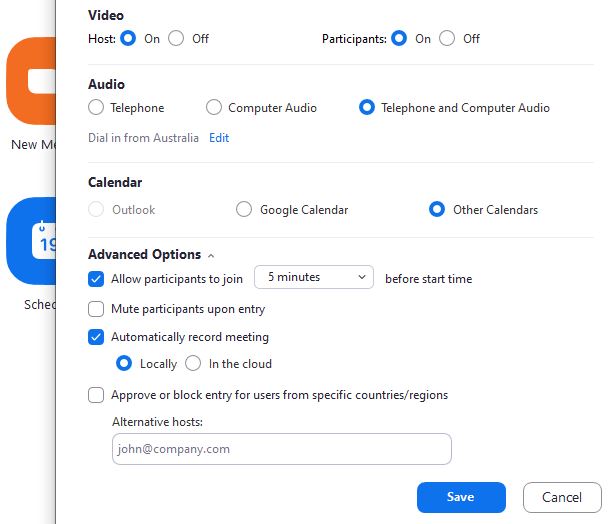
- Having signed into your Zoom client via SSO, click on the Schedule button and fill in details as required, then scroll down and expand Advanced Options
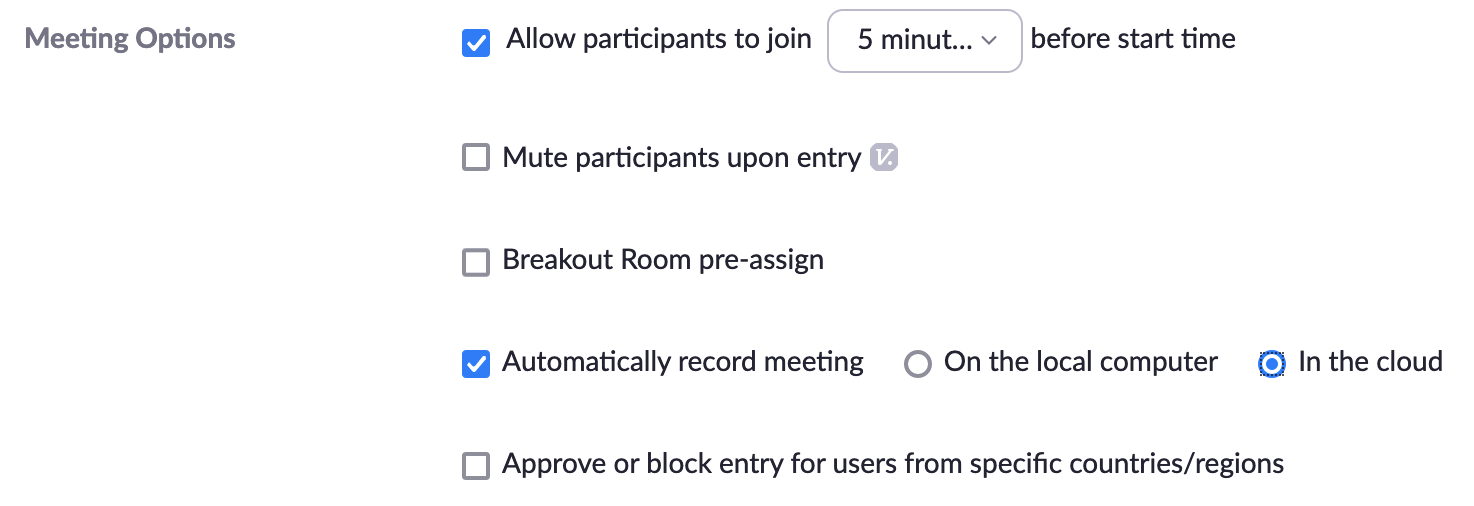
- Tick the check box to Automatically record meeting and select Locally, then click on the Save button
Without an email client
If you are not using an email client, you will be prompted with the following window:
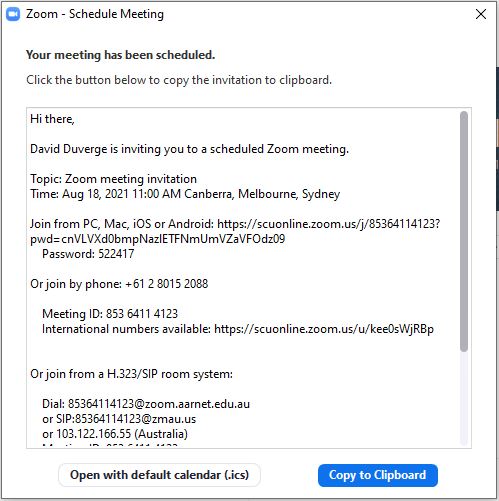
To send the Zoom meeting invitation, click on the Copy to Clipboard button, and paste it into your preferred emailing option
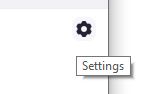
- To find the location of the stored Zoom meetings, click on the settings button (top right)
- Click on the Recording button to show the details
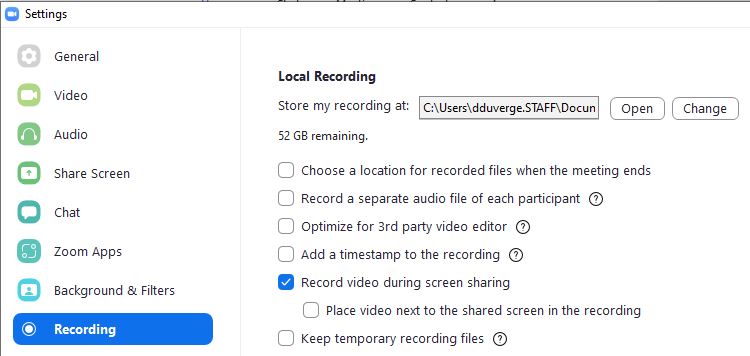
- Click on the Open button to open the folder that your recordings are stored
- To change the default location of your stored recordings, click on the Change button and browse to your new preferred folder and click OK
Note: Choose location
You can also have Zoom prompt you to Choose a location after the meeting has finished by ticking the check box
Mac
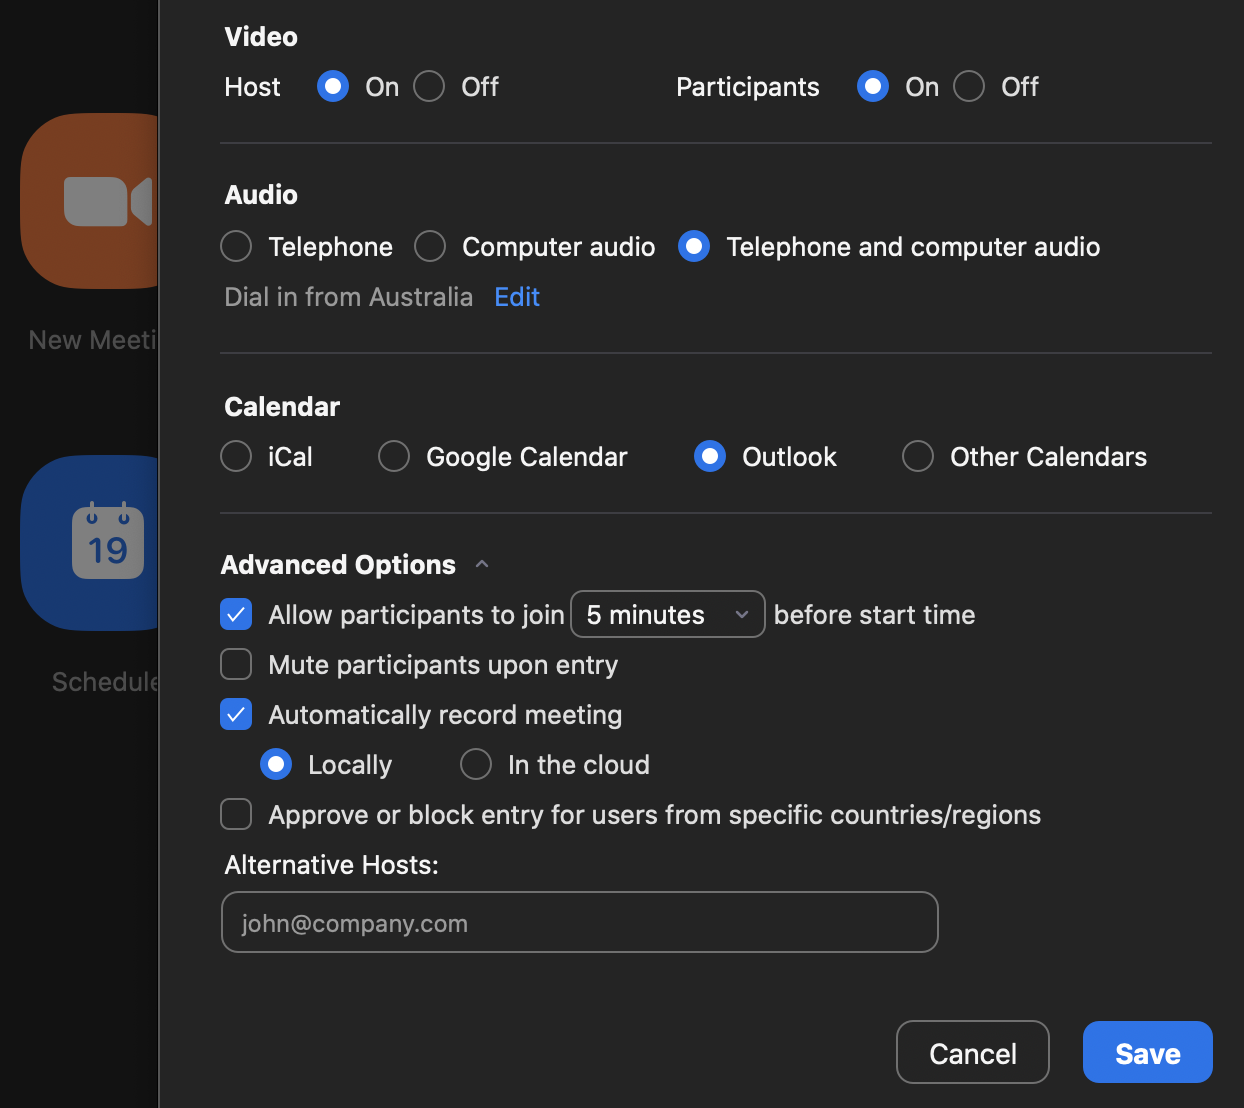
- Having signed into your Zoom client via SSO, click on the Schedule button and fill in details as required, then scroll down and expand Advanced Options
- Tick the check box to Automatically record meeting and select Locally, then click on the Save button
Note: Outlook client
If you are using the Outlook client, the process above will automatically open Outlook and the associated outgoing Zoom meeting invitation (example below)

Click on the Invite button and add attendees as required, then click the send button
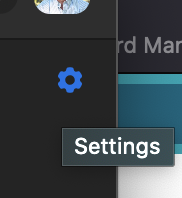
- To find the location of the stored Zoom meetings, click on the settings button (top right)
- Click on the Recording button to show the details
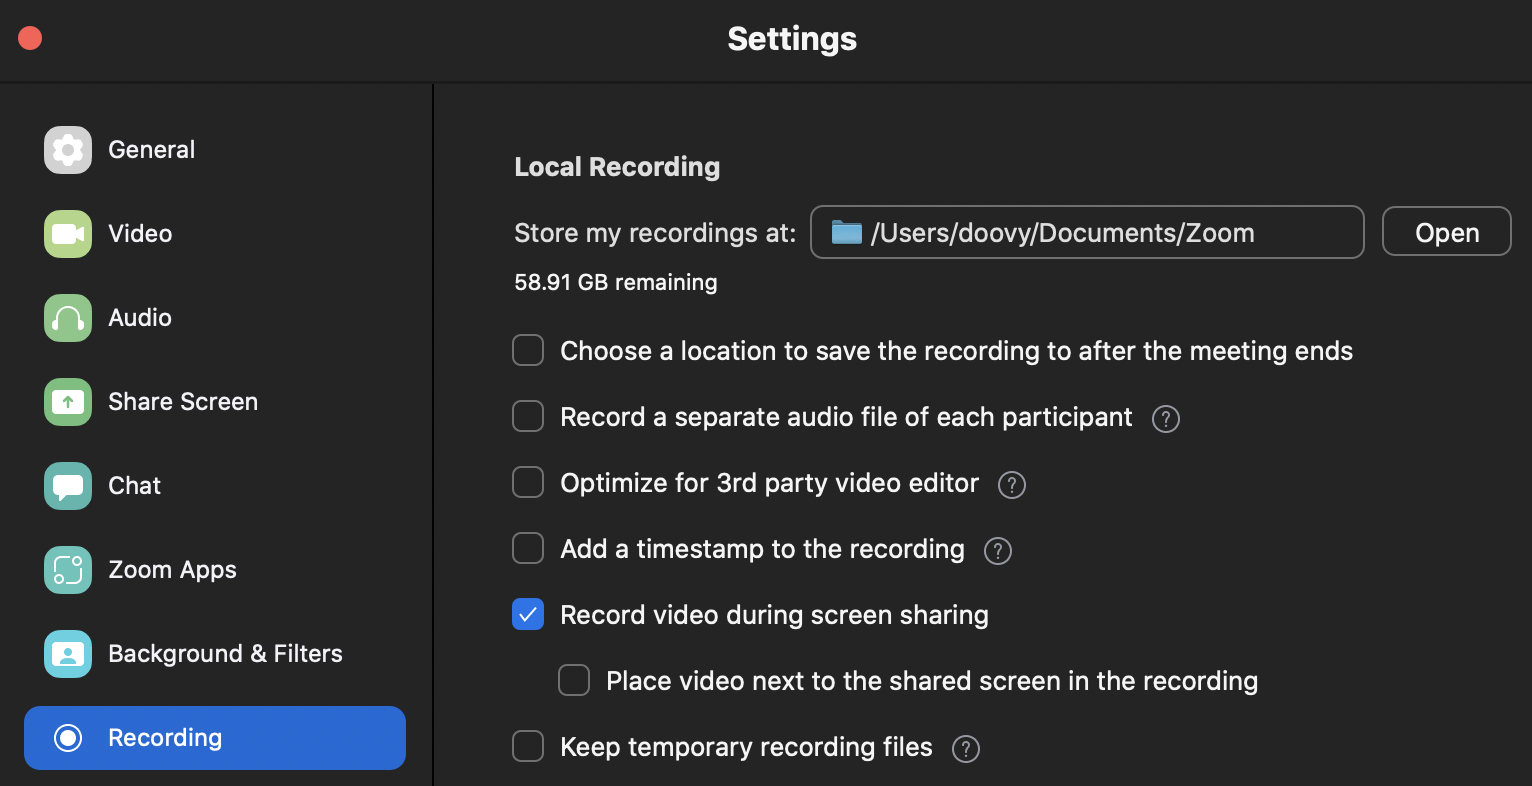
- Click on the Open button to open the folder that your recordings are stored
- To change the default location of your stored recordings, click on the Store my recordings at: file path and select Choose a new location...
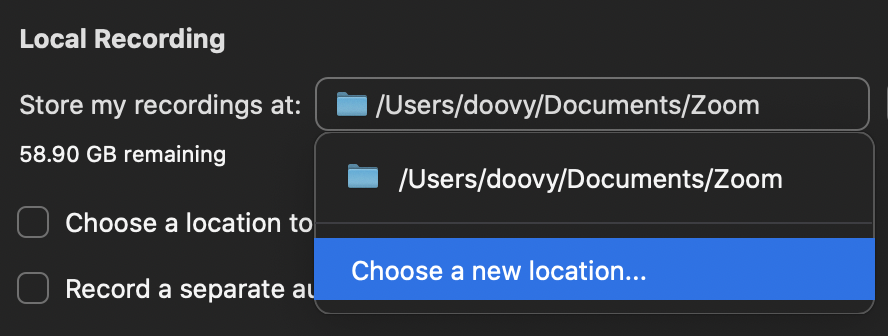
- Browse to the folder you would like to store your recordings and click on Save
Note: Choose location
You can also have Zoom prompt you to Choose a location after the meeting has finished by ticking the check box
Zoom Web portal
On the local computer

Once your meeting has finished and the recording completed, the meeting can be found in the following default locations:
- Windows: C:\Users\[Username]\Documents\Zoom
- Mac: /Users/[Username]/Documents/Zoom
In the cloud
Once your meeting has finished and the recording completed, the meeting is uploaded to the Zoom Cloud. After the recording is available for viewing, the host will receive an email notification (example below):
Zoom Cloud recording email notification
After having finished your Cloud recorded Zoom meeting, you will receive an email from no-reply@zoom.us:
Hi <host name>,
Your cloud recording is now available.
Topic: <Zoom meeting invitation name>
Date: Aug 5, 2021 09:36 AM Canberra, Melbourne, SydneyClick here to view your recording (this link can be used only by the host):
https://scuonline.zoom.us/recording/detail?meeting_id=<encrypted id>Copy the link below to share this recording with viewers:
https://scuonline.zoom.us/rec/share/<encrypted> Passcode: <passcode>
Thank you for choosing Zoom.
-The Zoom Team