Auslan - Using sign language interpretation in a meeting or webinar
When Sign Language interpretation view is enabled, hosts can designate up to 20 users as sign language interpreters either when scheduling a meeting or webinar or during the session.
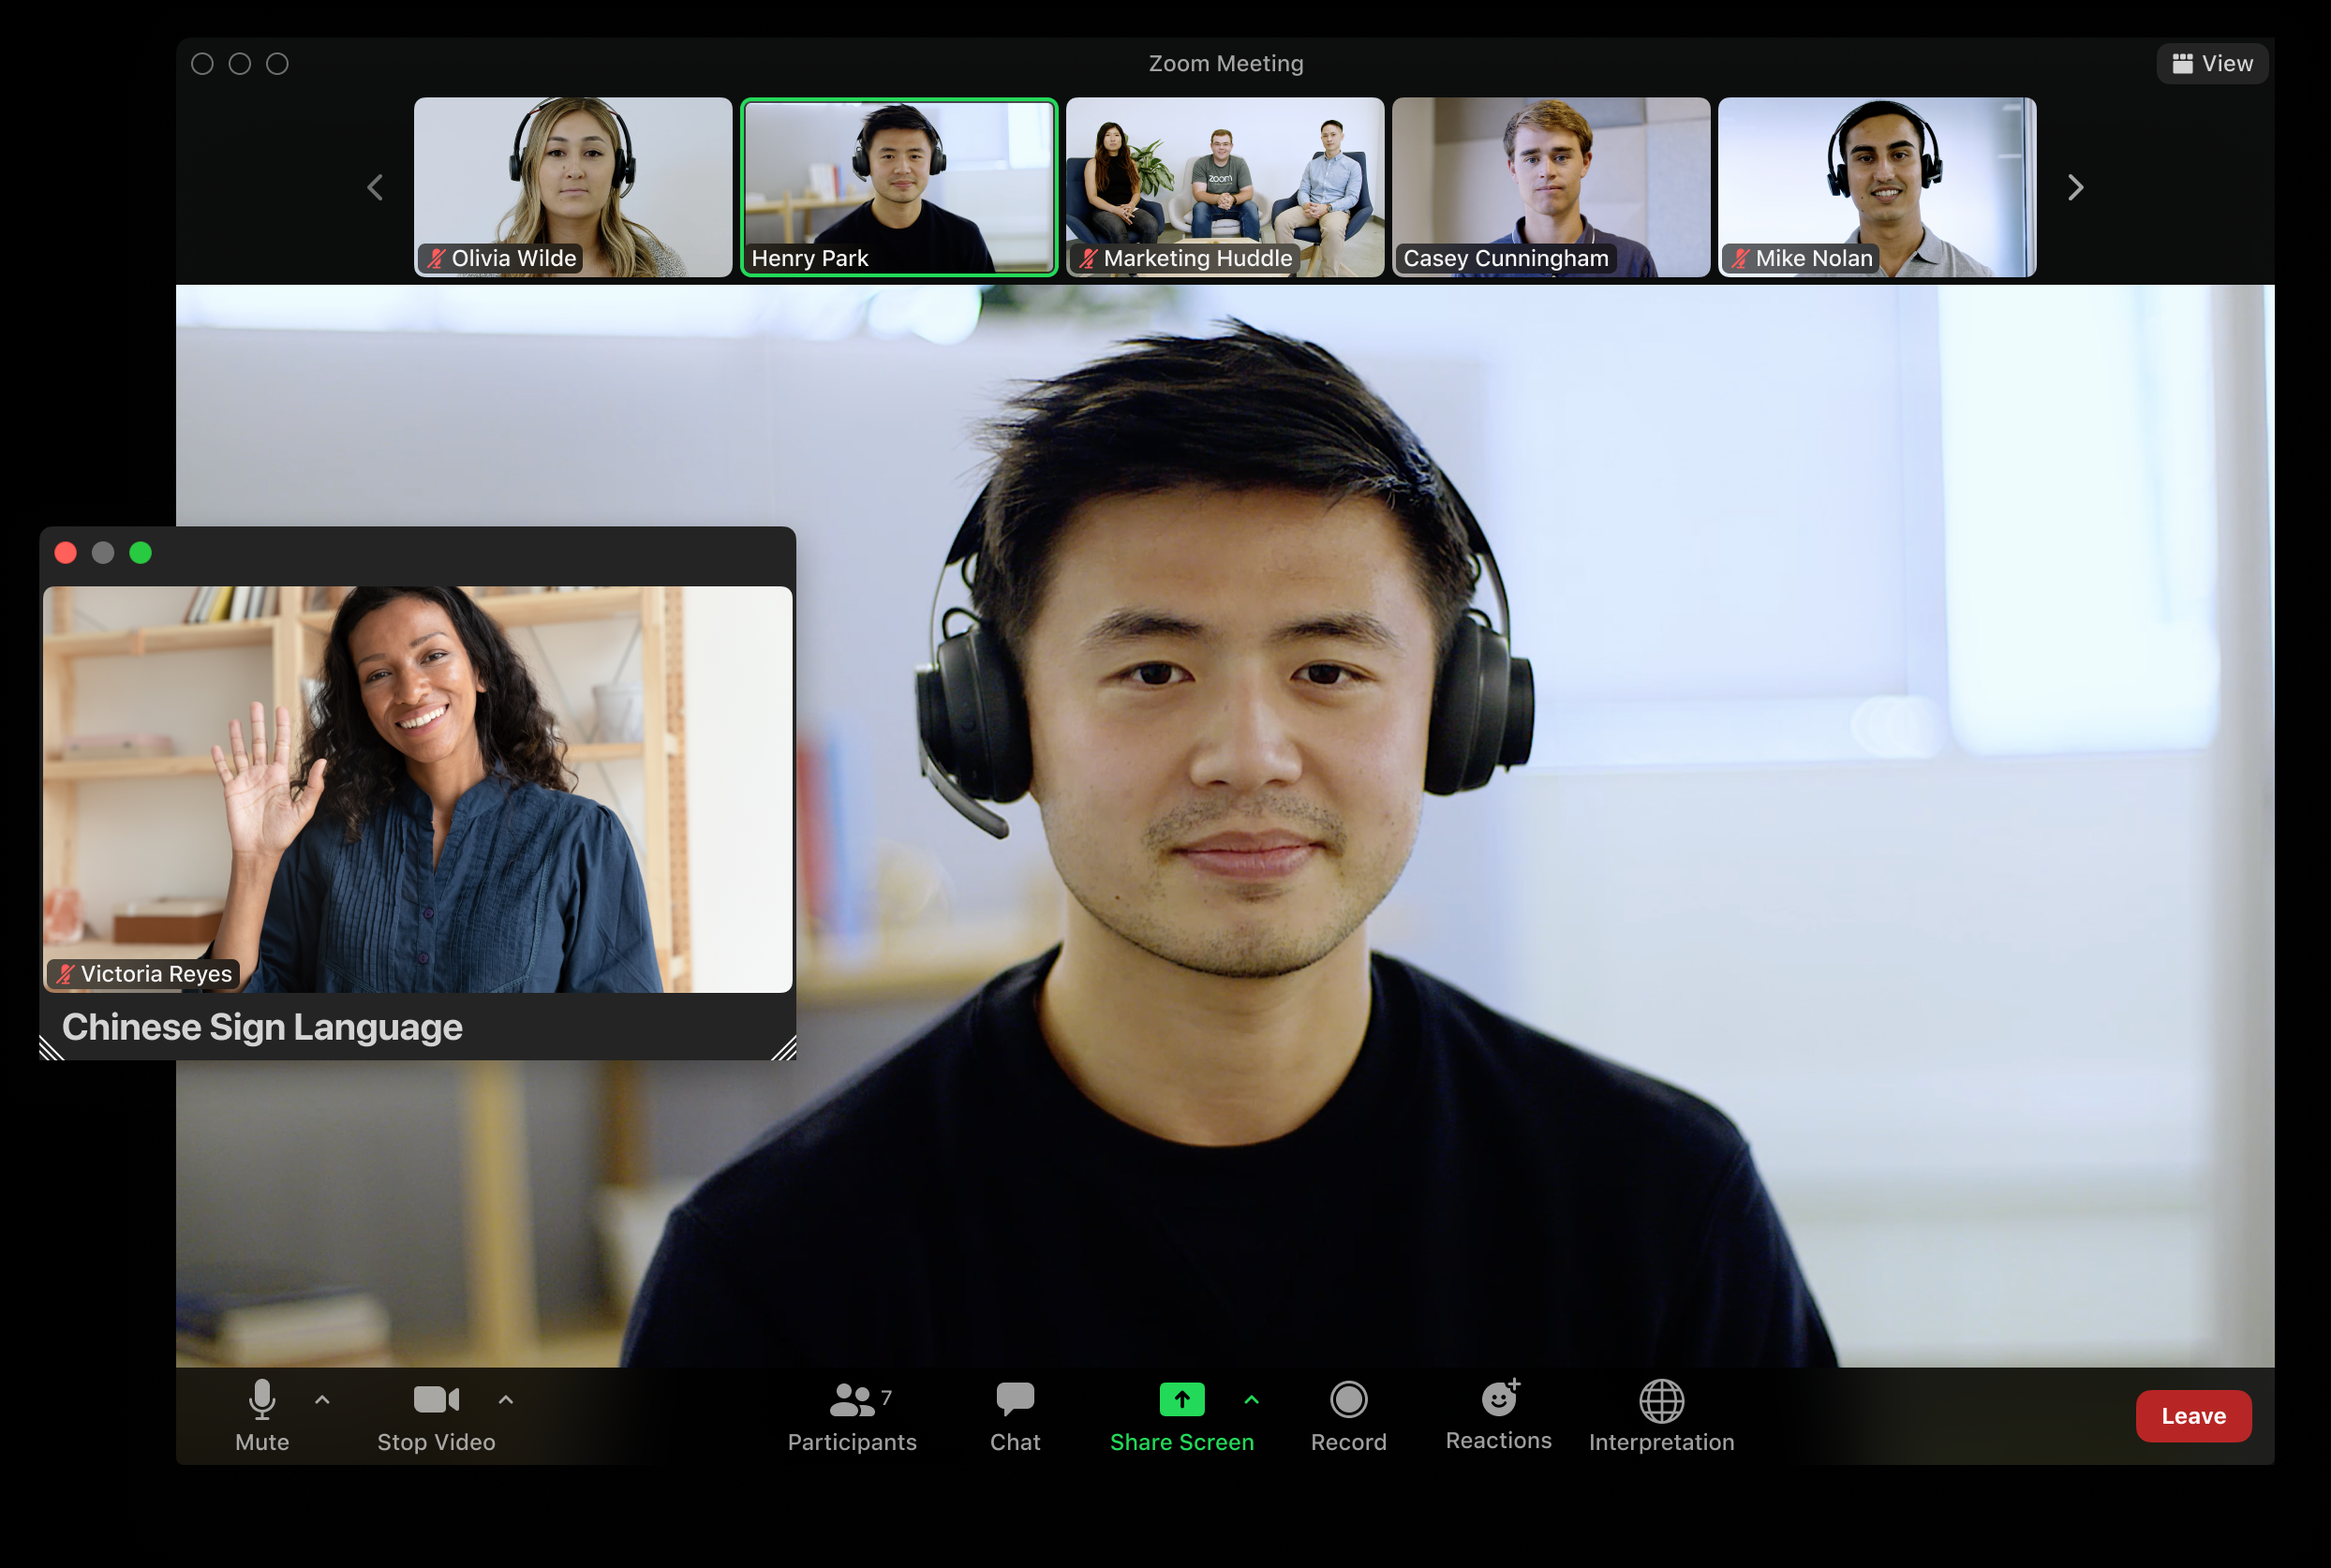
When the meeting or webinar starts, the host must start the interpretation feature, which allows the sign language interpreters to provide their own video channels for the language they are interpreting.
Participants can then select the video channel to view the sign language interpretation for an available sign language, and resize or relocate the video window as needed.
❗ Requirements for managing sign language interpretation
Before setting up interpretation, be aware of the following limitations:
- Personal Meeting ID (PMI): Language interpretation cannot be used in meetings created with a Personal Meeting ID. Make sure to select "Generate Automatically" for the Meeting ID when scheduling.
- Instant Meetings: Interpretation must be enabled during scheduling. It cannot be added to instant or ad hoc meetings.
- Zoom Mobile & Web Apps: You cannot manage or assign interpreters using the Zoom mobile app or web app. Participants must also be using the desktop application Sign language interpretation is only supported in the Zoom Desktop App (Windows/Mac) version 5.11.3 or later.
- Breakout Rooms: Language interpretation only works in the main session of a meeting, not in breakout rooms.
📅 Scheduling Your Zoom Meeting via SCU Blackboard
- From within your course area in Blackboard, click the blue “Schedule a New Meeting” button (top right).
- Edit the Topic/Name and Description as needed.
- Choose your start date, time, and duration. Double-check the time zone.
- If the meeting is recurring (e.g. weekly workshops), tick “Recurring Meeting” and complete the recurring schedule.
- Adjust any additional settings as required.
- Click “Schedule Meetings”. A confirmation message will appear.
- This ensures your meeting content is correctly associated with your unit in Blackboard.
🔧Enabling Language Interpretation in Zoom
To enable interpretation, you’ll need to use the Zoom Desktop Client (Windows):
- Open the Zoom Desktop Client and sign in using your SCU credentials.
- Locate the meeting you just scheduled. Click the three dots (⋯) next to it, then select Edit.
- If multiple sessions require interpretation, repeat this process for each one. Or if there is a reoccurring session edit the entire series
- In the meeting settings, scroll to the bottom and tick “Sign language interpretation (video channels)”, then click Save.
✅ Note: Do not assign interpreters here — that step is done during the live meeting
🎥Assigning Interpreters During the Meeting
Once the meeting has started and your interpreters have joined:
- Click the “Interpretation” icon
 on the Zoom toolbar.
 - Select “+ Add Interpreter”.
- Begin typing the interpreter’s name as it appears in the participant list — Zoom will autofill from the list of attendees.
- Click on the name to assign them. Repeat the process if you have a second interpreter. Remembering to choose “Auslan” as the language drop menu
- Click “Start” to launch interpretation mode.
- Interpreters' video will disappear from the main gallery. They will switch their video on when interpreting and off when resting.
✅ Note: Zoom will automatically spotlight the active interpreter’s video.
🧑🤝🧑 For Participants Requiring Interpretation
- Participants should click the “Interpretation” icon in Zoom and select Auslan (or the relevant language).
- A pop-out window will appear showing only the active interpreter’s video, switching automatically between interpreters as needed.
📼 Recording & Playback
- Continue your meeting as normal screen sharing, cloud recording, etc.
- Interpreters will be recorded separately, and their video will be included in the Blackboard recordings available for students.