How to create or join a study group in Blackboard
This article provides instructions on how to create or join a Blackboard study group. The Study Group option must be enabled by your lecturer.
How to create a study group
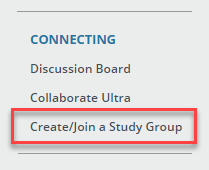
Step 1: Log into your Blackboard unit, from the left menu click on Create/Join a Study Group
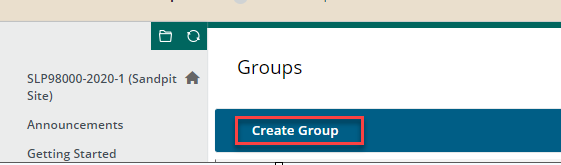
Step 2: From the top blue menu, click on Create Group
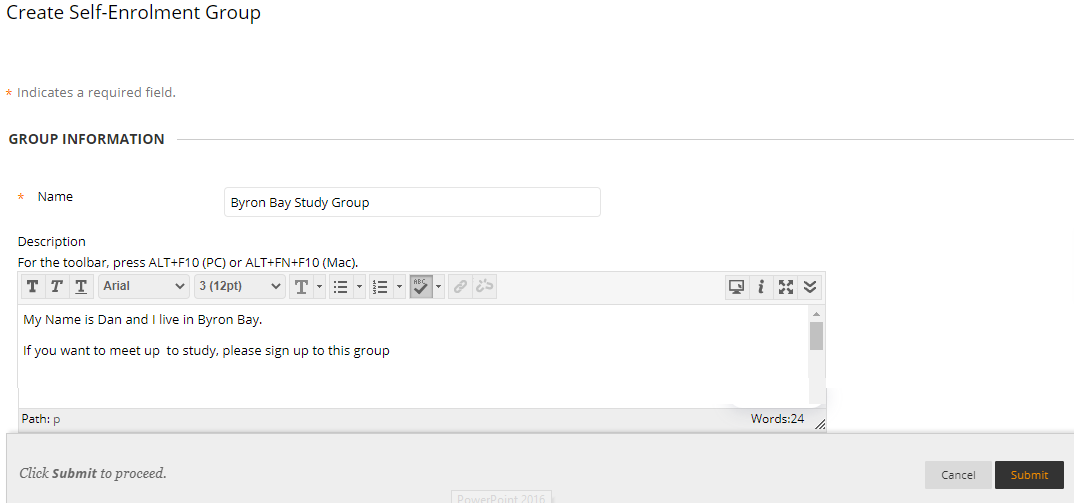
Step 3: Fill in any field which has a asterisk symbol.
You can also set a maximum number of members.
Click Submit when finished
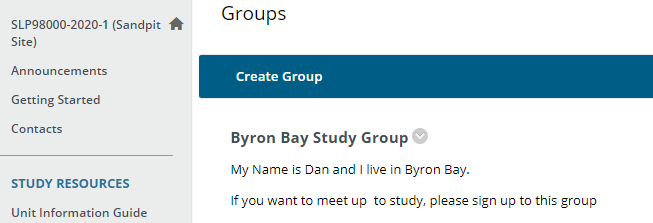
Step 4: Your group has now been created.
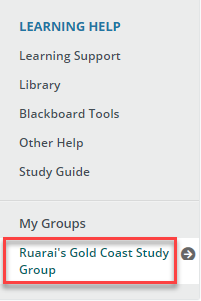
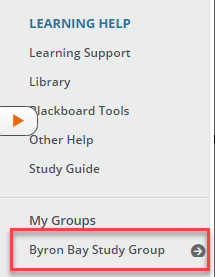
Step 5: To access your new group, scroll down the bottom of your learning site.
On the left menu you will see the group name.
There is a wide range of tools you can use to communicate with your new group members, such as
- Collaborate, File Exchange, Group Blog, Group Discussion Board, Group Journal, Group Tasks, Group Wiki and Send Email options.
How to join a study group
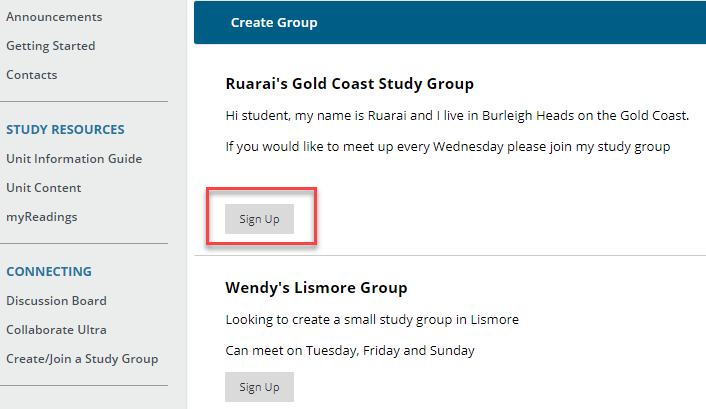
Step 1: Log into your Blackboard unit, from the left menu click on Create/Join a Study Group
Step 2: Find a group you want to join and click the Sign Up Button
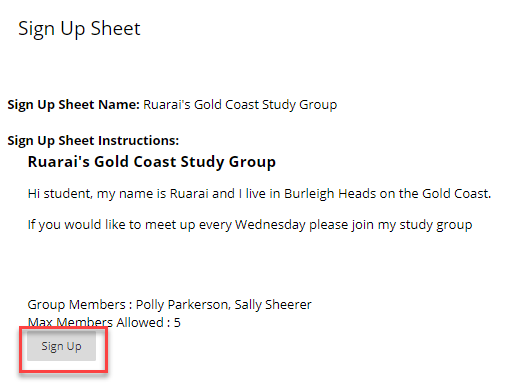
Step 3: Click the sign up button again
You can also see the other group members
Step 4: You are now signed up to the group.
Scroll to the bottom of the page to see your new group