Teams - How to share a file with Teams
Share a file in Teams
To send a file in a one-on-one or group chat, select Choose file  beneath the compose box, select the file you want to share, and then send. You can also upload a file by going to the Files tab and clicking Share. You can select a file from your computer or OneDrive for Business account.
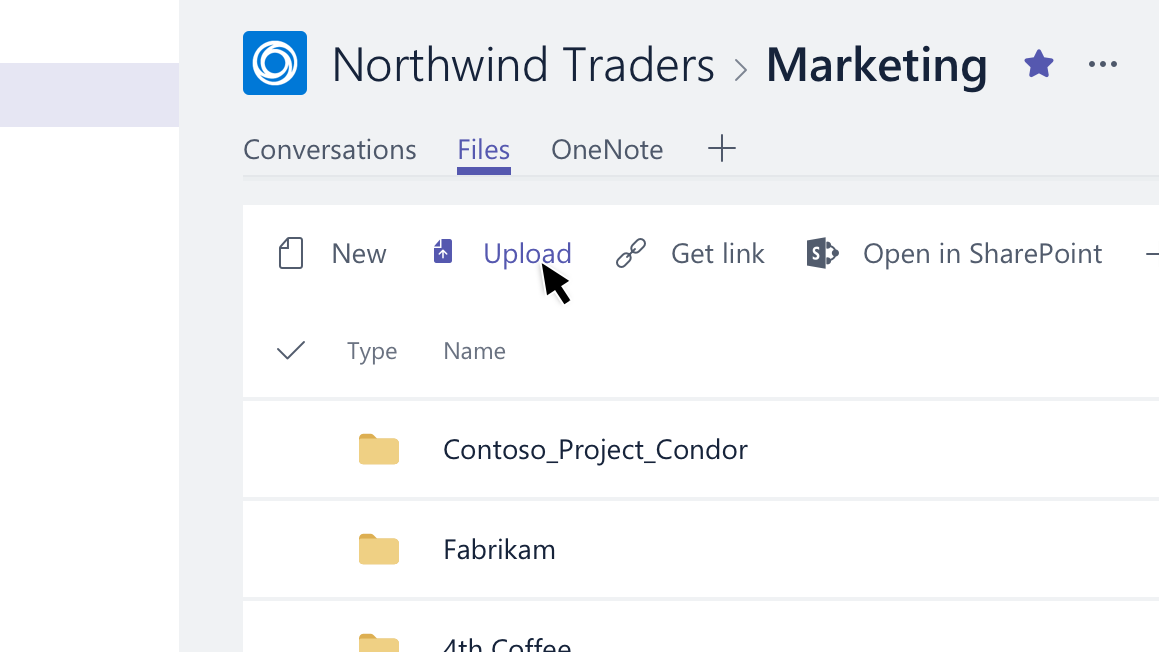
To share a file with your team in a channel, select Choose file beneath the compose box or go to the Files tab and select Upload.
Once you share a file, you can also share a link to it. That way, you don't ever have to upload multiple copies of the same file to share it in different places.
Share a file with someone outside your team in Teams (via SharePoint)
It is possible to share files and folders with both people outside of your immediate team and with people outside of the SCU organisation. To share a folder or file:
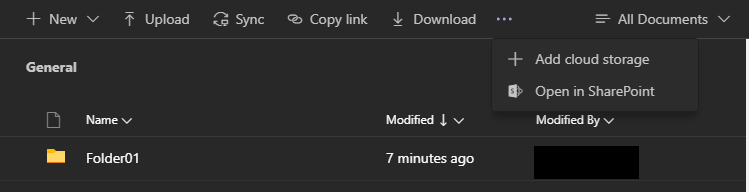
Step 1: In the files tab, select the folder or files you wish to share. Click on the ellipses and select 'Open in Sharepoint'
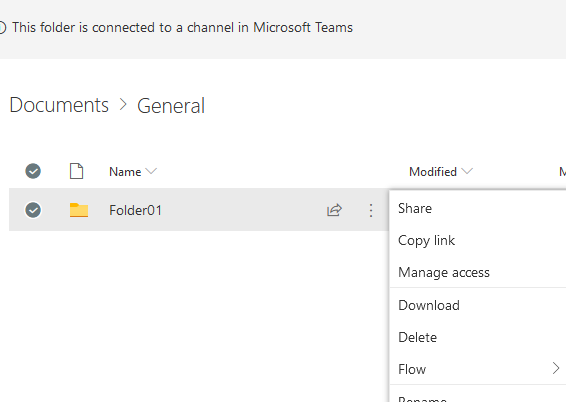
Step 2: This will open the document library of the team in Sharepoint. Click on the ellipses and select 'Share'
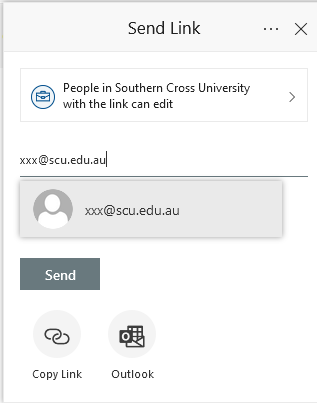
Step 3: In the next window you have the option of sharing with someone from within the SCU organisation or with people outside the organisation. Make your selection by clicking on the relevant item. If you would like for the receiver to be able to edit, check the 'Allow editing' checkbox.

Step 4: Type in the email of the person you wish to share it with. Note you can add multiple email addresses. They will receive an email with a link to the document.
Note
If sharing with someone from outside the SCU organisation, the recipient will receive an email with a link to the document. They will also need to request a confirmation email with a six digit code that allows them to open the document.