Personal Calendar from Outlook to Excel
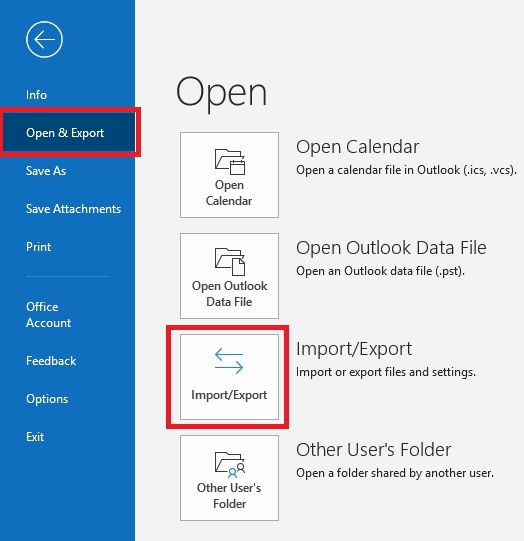
Step 1: Open Microsoft Outlook. Go to File > Open & Export > Import/Export
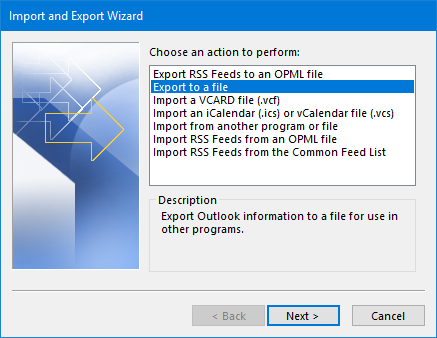
Step 2: Under Choose an action to perform, select Export to a file, and then click Next to continue
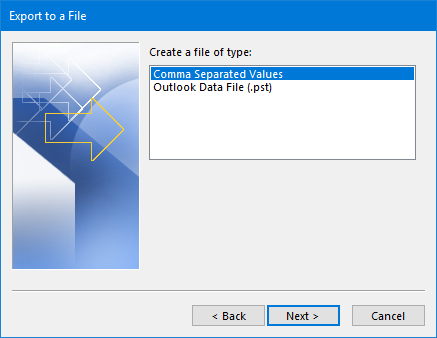
Step 3: select Comma Separated Values, and then click Next
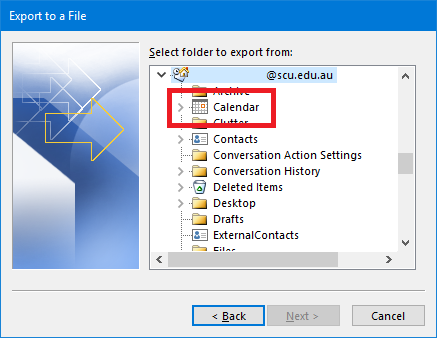
Step 4: Select which Calendar you wish to export, and then click Next.
Keep in mind this way of exporting will only work for personal calendars
Step 5: You will then need to select the file location where the calendar will be exported too. If you would like to change the default file location, select Browse, and click Next to continue

Step 6: Leave this check box checked and click Finish to continue

Step 7: You will then need to specify the date range you will export calendar within, and click the OK button
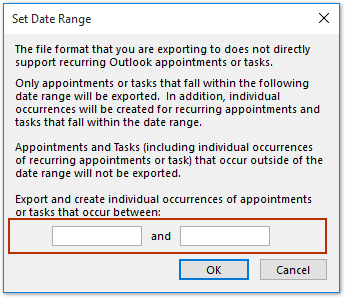
The selected calendar will then be exported to the file destination you set in Step 5