Setting up a live event in Microsoft Teams
Follow the steps outlined below as the Organiser of the Live Event:
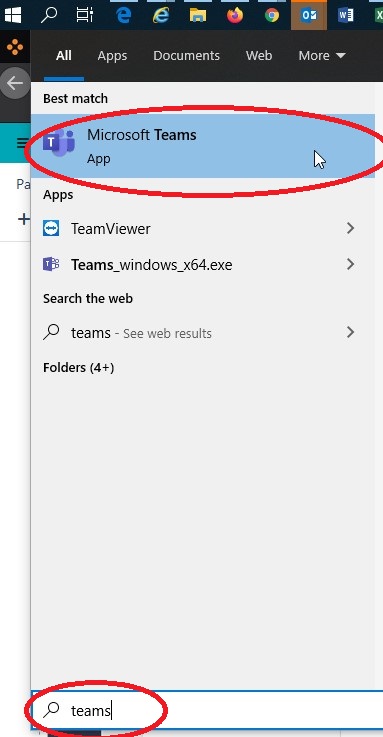
Step 1
Open the Microsoft Teams application
Step 2
Click on the Calendar option located on the left-hand side menu

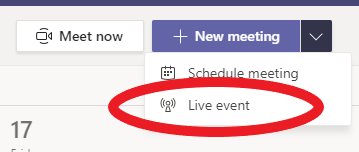
Step 3
Click on the arrow drop-down menu next to + New meeting and select the Live event option
Step 4
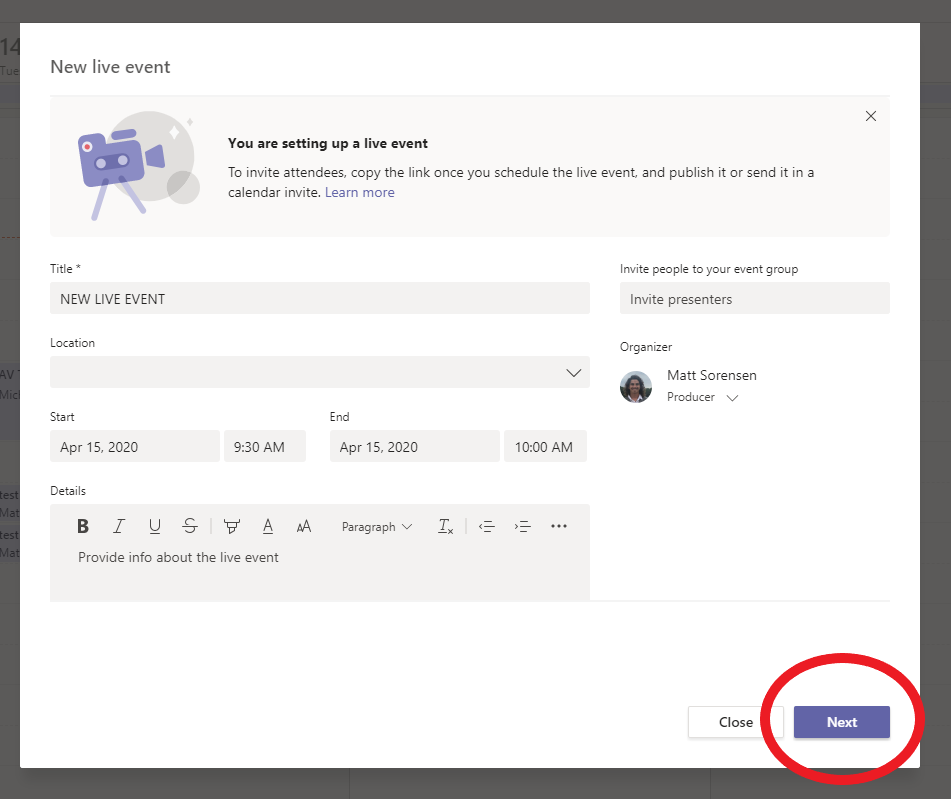
You will be presented with a New live event window, this is where you:
Give the event a Title
- Invite people to your event group and give them a Producer or Presenter role
Select a Location (if required)
Set the Start and End date and times
Provide Details about the live event
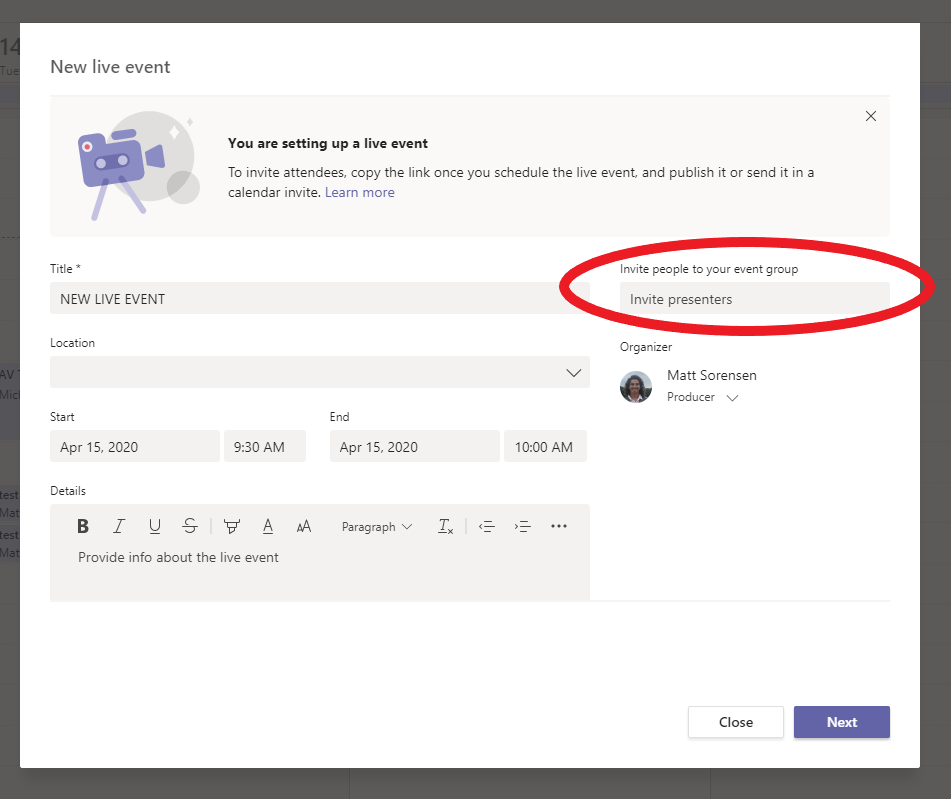
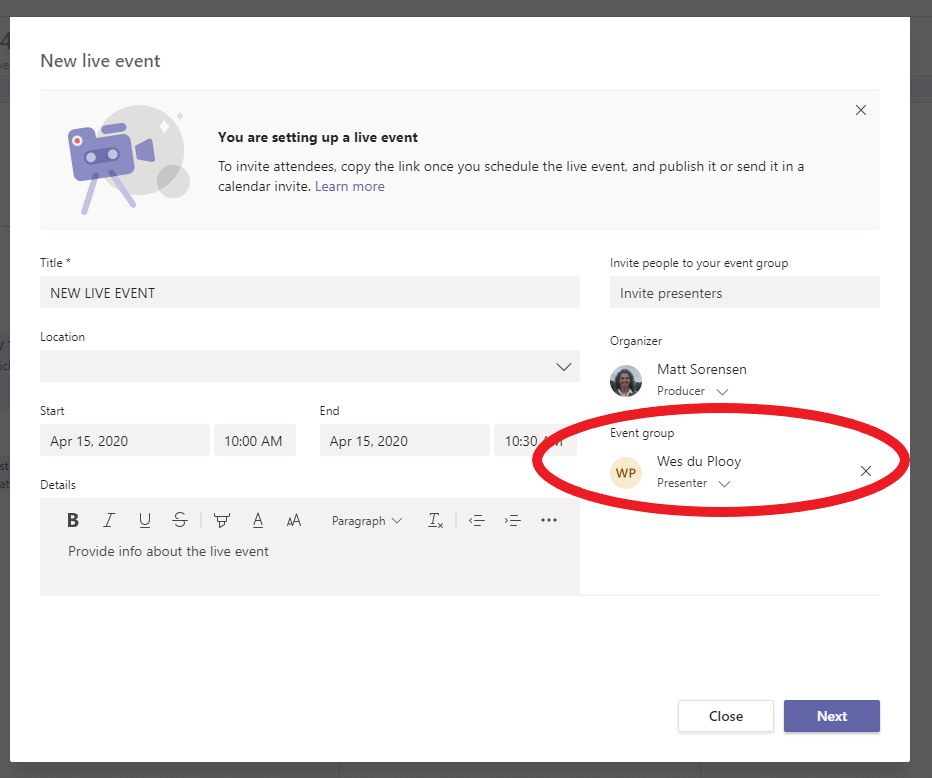

Click Next
Step 5
You will now need to set your Live event permissions:
- Select Org-wide then scroll down
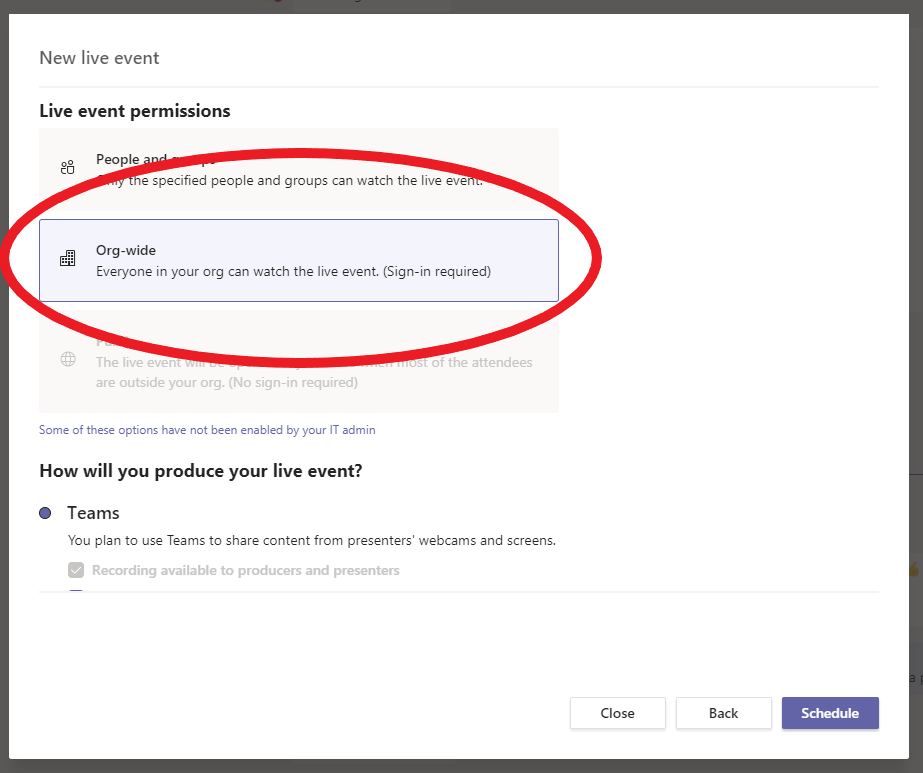
You now need to set How will you produce your live event
If you would like to have a Recording available to attendees, tick the check box
- If you require the questions and answers function enabled, tick the Q&A check box
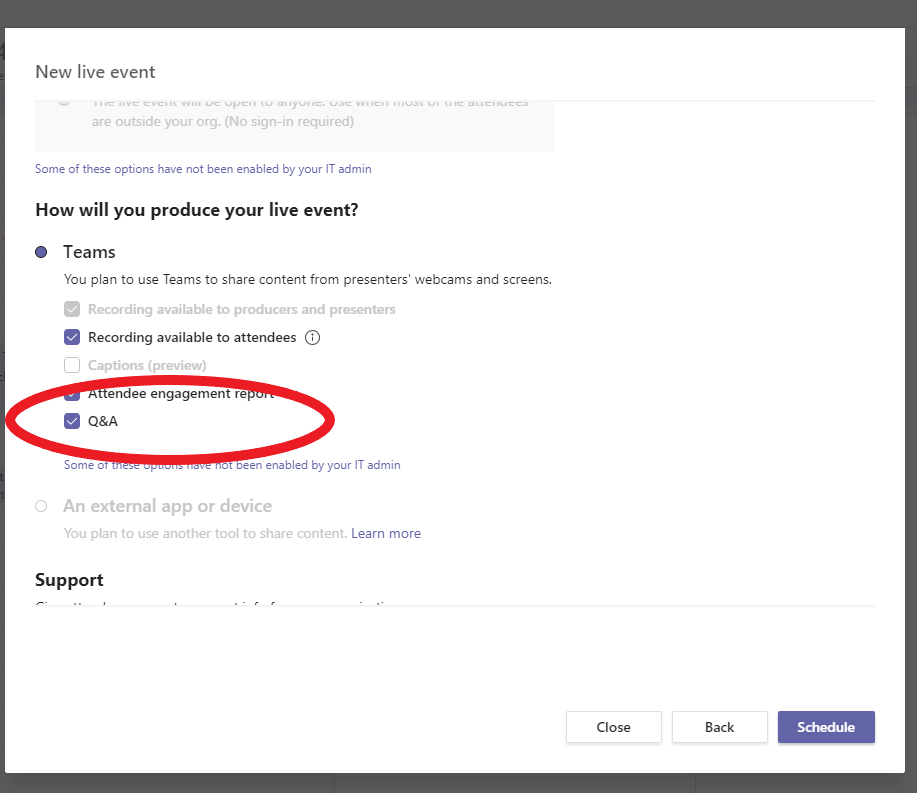
Once you are sure you have set the event up correctly click on the Schedule button
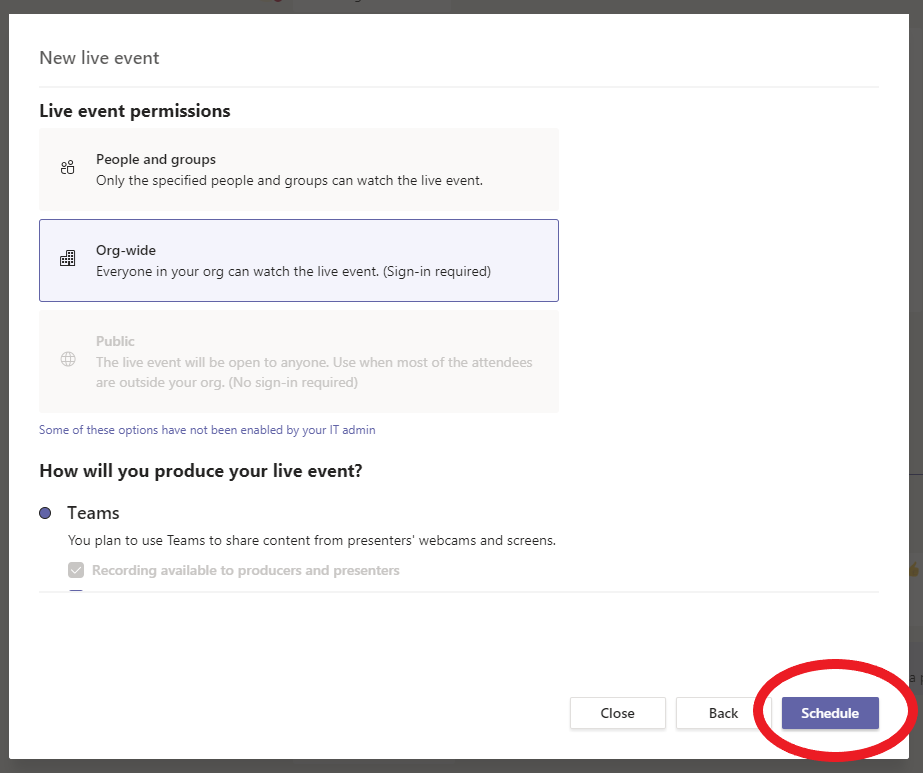
THE LIVE EVENT IS NOW SET UP
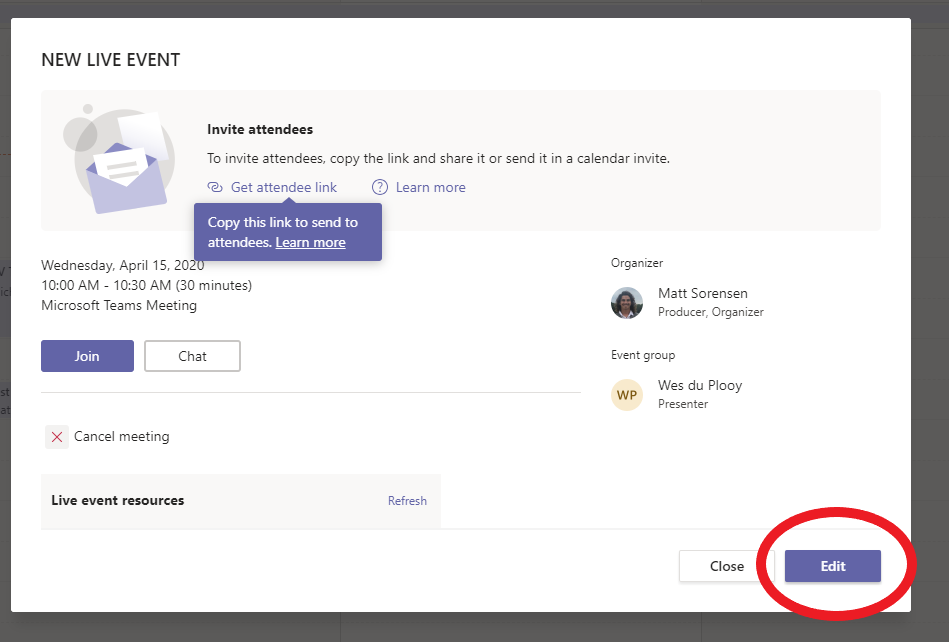
Step 6
If you are required to make changes to the event you've just created click on the Edit button and edit accordingly
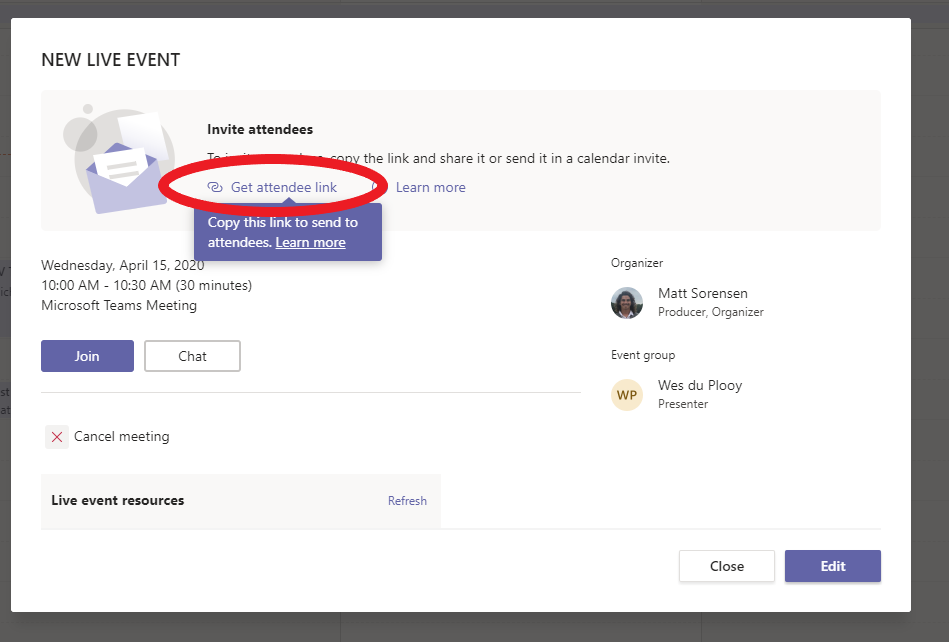
Step 7
- To send the link of your newly created Teams live event, click on the Get attendee link - this is automatically saved to your clipboard. You can now paste it wherever you see fit to share with your attendees
Cancel the live event
If you wish to cancel the live event, click on the Cancel meeting option
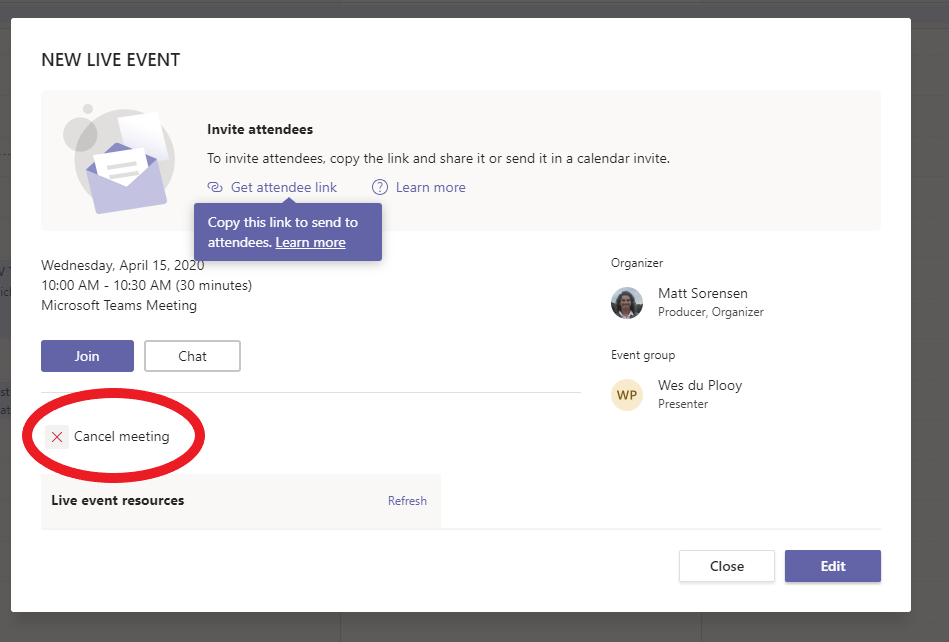
If the meeting is started and ended prior to the scheduled event, a new event will need to be created
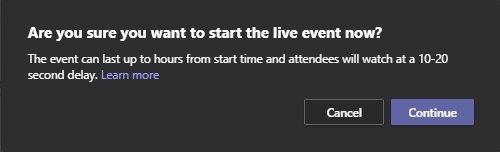
Delay for attendees
There is a 10-20 second delay for attendees