Teams - Managing Planner
Use Planner in Microsoft Teams
If you're using Microsoft Teams, you can organize your tasks by adding one or more Planner tabs to a team channel. You can then work on your plan from within Teams or in Planner for web, remove or delete your plan, and get notified in Teams when a task is assigned to you in Planner.
Step 1: Add a Planner tab to a team channel
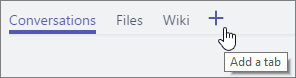
In your team channel, select Add a tab +.
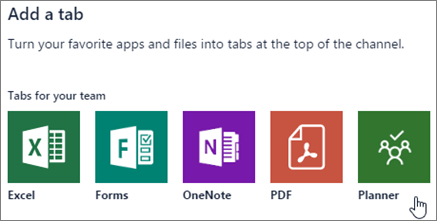
Step 2: In the Add a tab dialog box, choose Planner.
Step 3: In the Planner dialog box, choose:
Create a new plan to make a new Planner plan and add it as a tab to this channel.
Use an existing plan to choose an existing Planner plan to add to a tab in this channel.
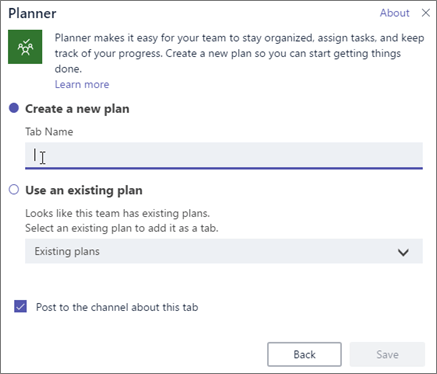
Step 4: Choose whether to post to the channel about the tab, and then select Save.
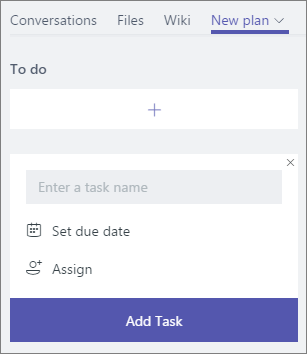
The tab will be added alongside your other team channel tabs, and you'll be able to start adding tasks to your board.
Step 5: Repeat this procedure to add as many plans as you want for your channel.
Note
You can also add the same plan to multiple tabs. This doesn't create a copy of your plan.
Work on your plan in Teams
Once you've added your plan in Teams, there are two ways you can get started using it:
The Planner tab in the channel: You can perform the basic Planner actions, such as adding buckets, tasks, assignments, and more. To use the more advanced Planner features, such as Charts and Schedule, you'll need to open your plan in Planner for web.
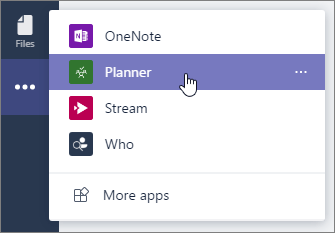
Planner personal app: In Teams, in the left column, choose More options ..., and select Planner.
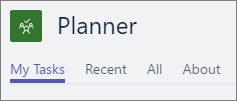
On the My Tasks tab, you can see all of the tasks assigned to you in Planner. The Recent and All tabs show you Teams-created plans you've recently looked at and a list of all plans you're a part of in Teams. Select About to find out more about the Planner app in Teams.
Remove a Planner tab or delete a plan
When you're done using a Planner tab in Teams, you can either remove it from your team channel but keep the underlying plan, or you can remove it from your channel and permanently delete the underlying plan.
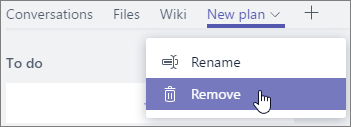
Step 1: In your team channel, select the Planner tab you want to remove or delete, select the arrow next to the tab name, and select Remove
Step 2: In the Remove dialog box:
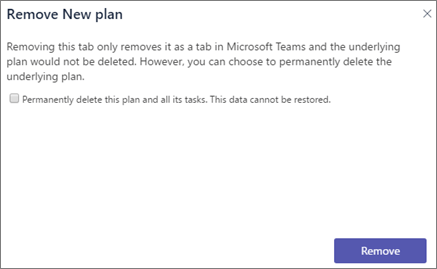
To remove the plan from the team channel: Clear the Permanently delete this plan and all its tasks. This data cannot be restored. check box. This check box shouldn't be selected when you open the dialog box. The plan will no longer show up in Teams but it will appear in Planner for web.
To remove and delete the plan: Select the Permanently delete this plan and all its tasks. This data cannot be restored. check box. The plan will no longer exist either in Teams or in Planner for web.
Step 3: Select Remove.