How to install a font on a PC
This article provides instructions on how to install fonts onto your PC computer.
The information supplied in this article applies to Southern Cross Uni's branding and the installation of the Roboto font. The Roboto font is a part of the SOE, however, staff and students may wish to install this free font on personal computers, or may not exist on older SCU computers.
Step 1: Download the font from the website
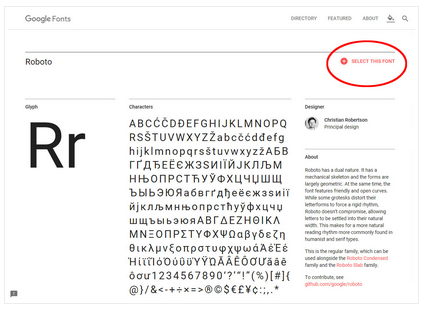
For Roboto please visit this page https://fonts.google.com/specimen/Roboto

Step 2: In the top right hand of the screen you will see in red coloured writing, Select this Font, left click to select.
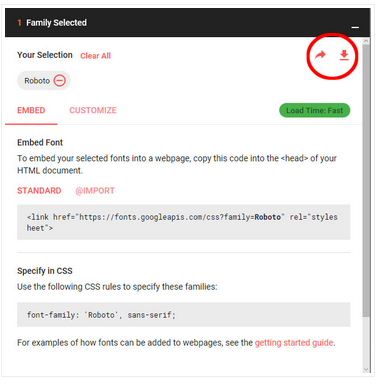
Step 3: At the bottom of the bottom of the page, select the black box 'Family Selected' and left click to expand.
![]()
Step 4: At the top of this expanded window, select the red arrow pointing down to a red line and left click to 'Download', select 'Save' to download the file to your hard drive (Download folder is default).

Step 5: Go to the download folder and right click on the .zip file and select 'Extract all' from the drop down menu

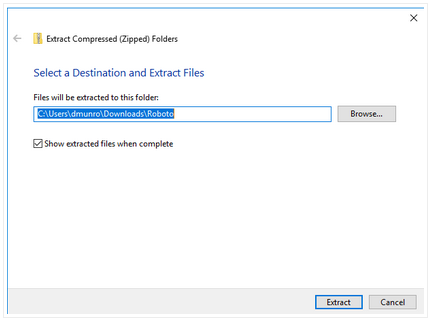
Step 6: Select the destination location that the files will be extracted to. By default, it will be the same directory as the .zip file
Step 7: Go to the destination folder and highlight all the fonts you wish to install, Right click and select 'install'
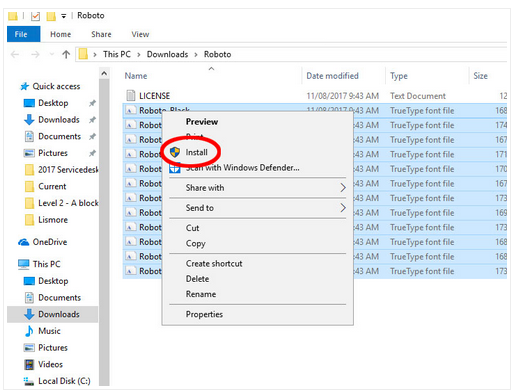
Step 8: When the installation progress window indicates the process is finished, the fonts will be installed.