Creating a Course Presentation from PowerPoint slides
This guide will show you the process for repurposing an existing PowerPoint presentation into a H5P course presentation. It is good practice to limit course presentations to a maximum of 10 slides in order to retain learner engagement. It is a good idea to carefully consider your PowerPoint content and how it might be designed into an interactive presentation. Chunking a larger PowerPoint presentation into multiple smaller H5P course presentations with videos, quizzes and summary activities provides a more engaging experience for students and more opportunities for student interaction.
PowerPoints and Accessibility
Please note that exporting PowerPoints that contain large amounts of text or use smaller font sizes may not be legible when added to a Course Presentation. In addition, exporting Powerpoint slides as images removes accessibility for screen readers. Where possible it is better to convert slides that only contain images and then add text using H5P's tools which do support accessibility.
Export Powerpoint slides as individual JPEG image files
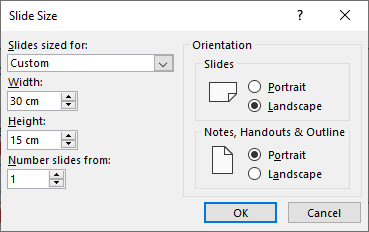
Open the PowerPoint file you wish to use, and click on the Design Menu and choose Slide Size, then Custom Slide Size.

- Set the Slide Size to custom and enter 30cm for the width and 15cm for the height. This ratio of 2:1 will ensure that the images are not stretched when imported into H5P.
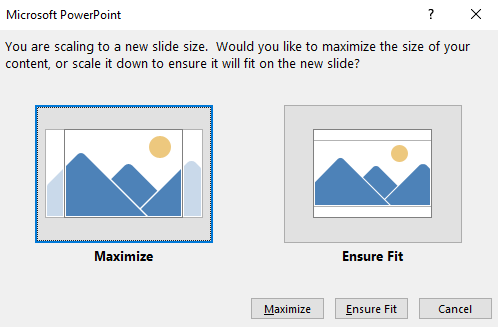
- Depending on your presentation choose Maximise (some content may be cut off) or Ensure Fit (all content will fit but the text will be smaller). You may wish to experiment with both options. Check the slides have been converted correctly and adjust if needed before you proceed.
Select the File menu.

From the File menu, select Export >Change File Type > JPEG File Interchange Format. Click on Save As.
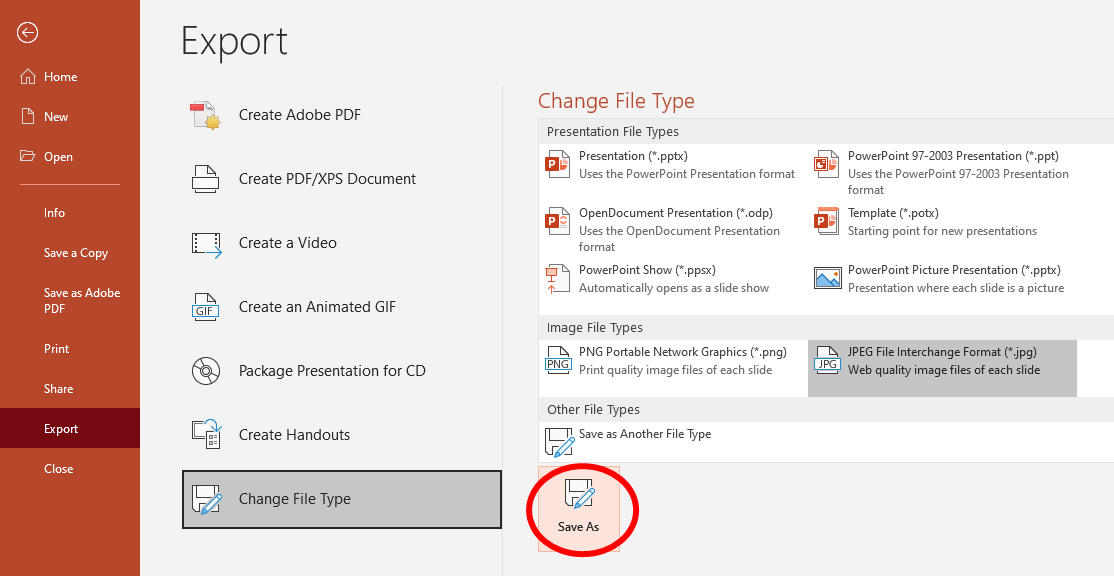
- Make sure JPG File Interchange Format is still selected as the file format and choose an appropriate place to save the files.

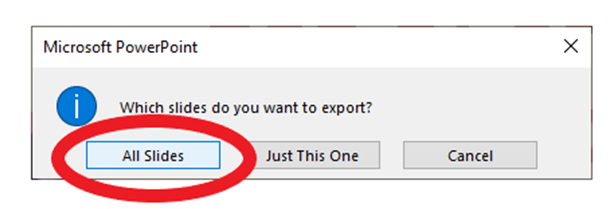
- Choose All slides from the dialogue that appears.
Import slides into a H5P course presentation
- Open H5P, navigate to My Content, and select the add content button.
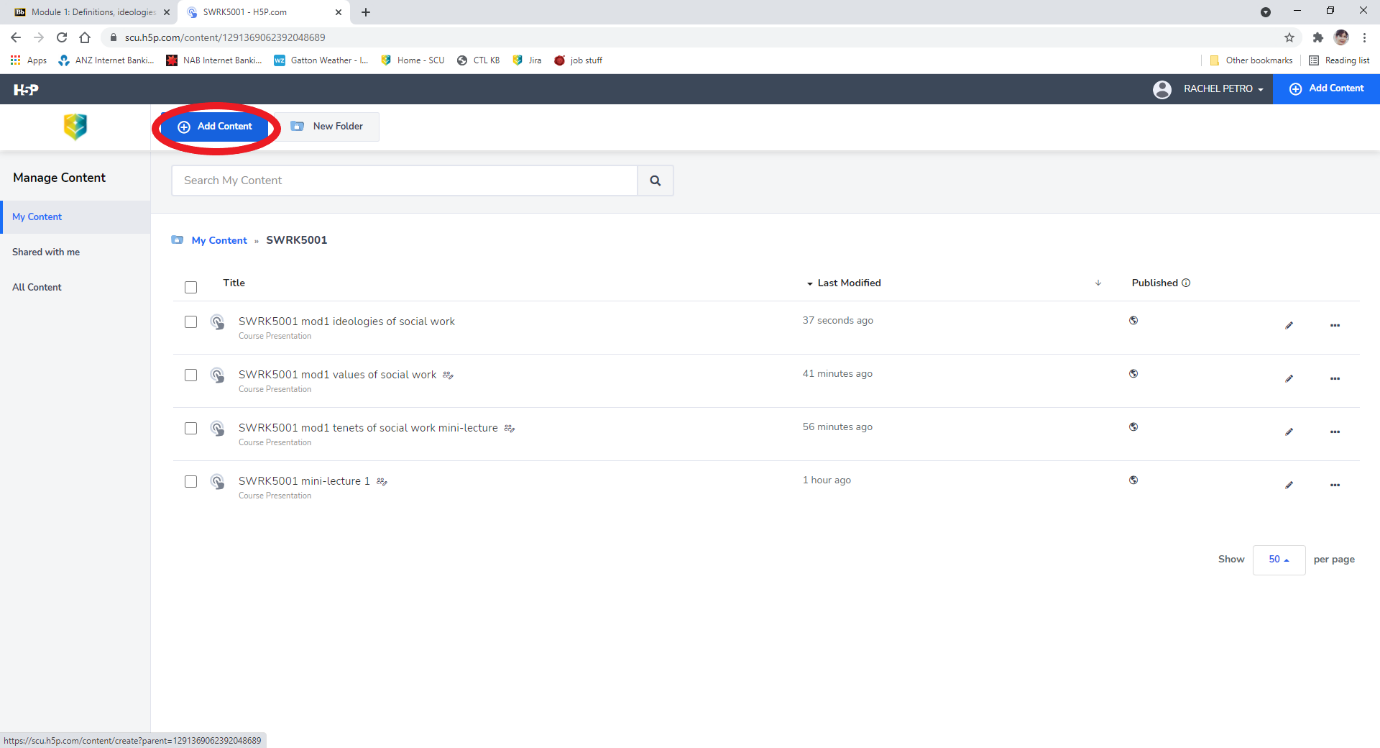
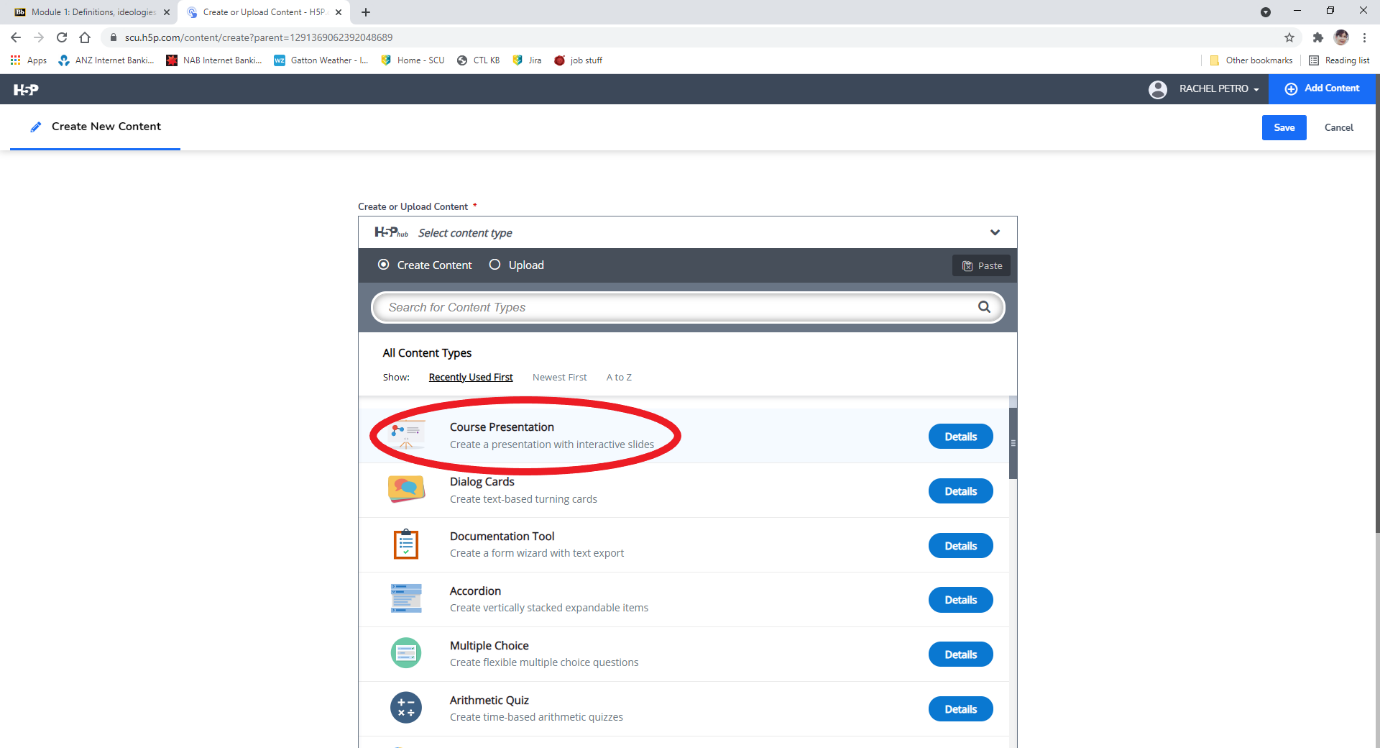
Select Course Presentation from the list. (If you click on Details you can find out more about this type of H5P)
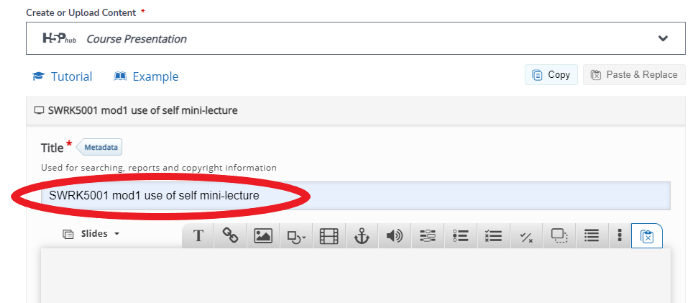
- Type in a Title for the presentation (e.g. course code_module number_meaningful title).
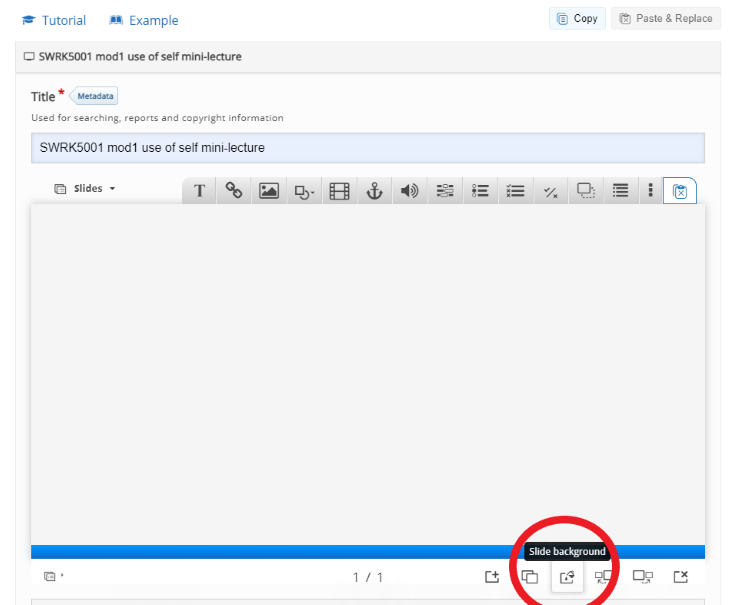
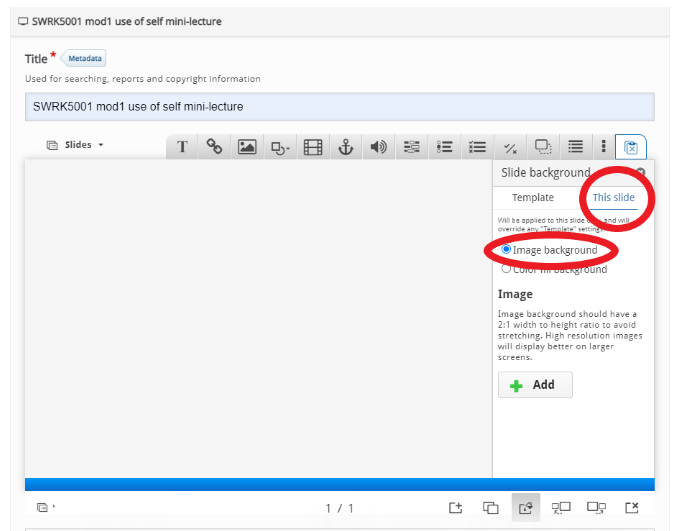
Select slide background from the toolbar at the bottom of the slides window.
Select Image background and This slide. Select Add.
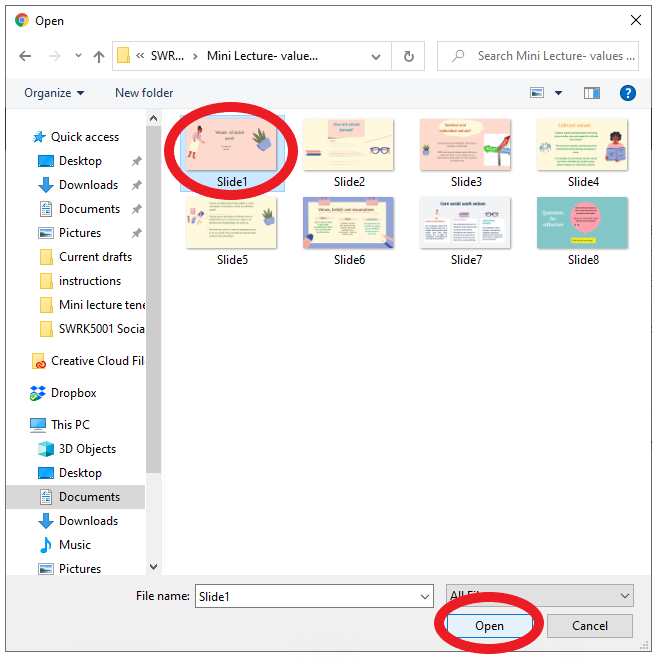
Navigate to the first slide that you exported as a jpeg image, select it and then click Open.
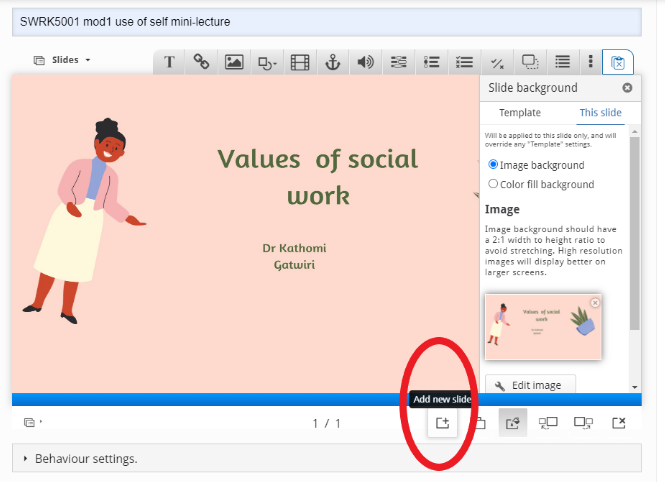
To add the next slide, select Add new slide from the bottom toolbar, and repeat the above process from step 5 until all the slides are added.
You can now use the other features of H5P Course Presentations to add more slides, text, images, quizzes and videos as you wish.
- When you are finished, click Save and test out your Course Presentation.
- Click Edit to make further changes.
- Once you have completed your Course Presentation, you can publish it the same way as any H5P.