Sharing content with students
In order to provide content to your students during your Collaborate Ultra session, you need to use the Share function. It is best to set this up in the time prior to the session start, although this can be done during your session. This article provides the following guidance:
Before you read this page have you checked out the Blackboard Help site about moderating sessions? You will find a lot of useful tips, tricks, and ideas.
Share a PowerPoint (PPT)
- Click into your Collaborate Ultra session.
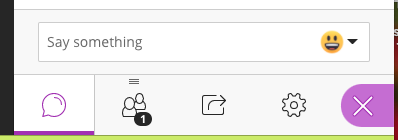
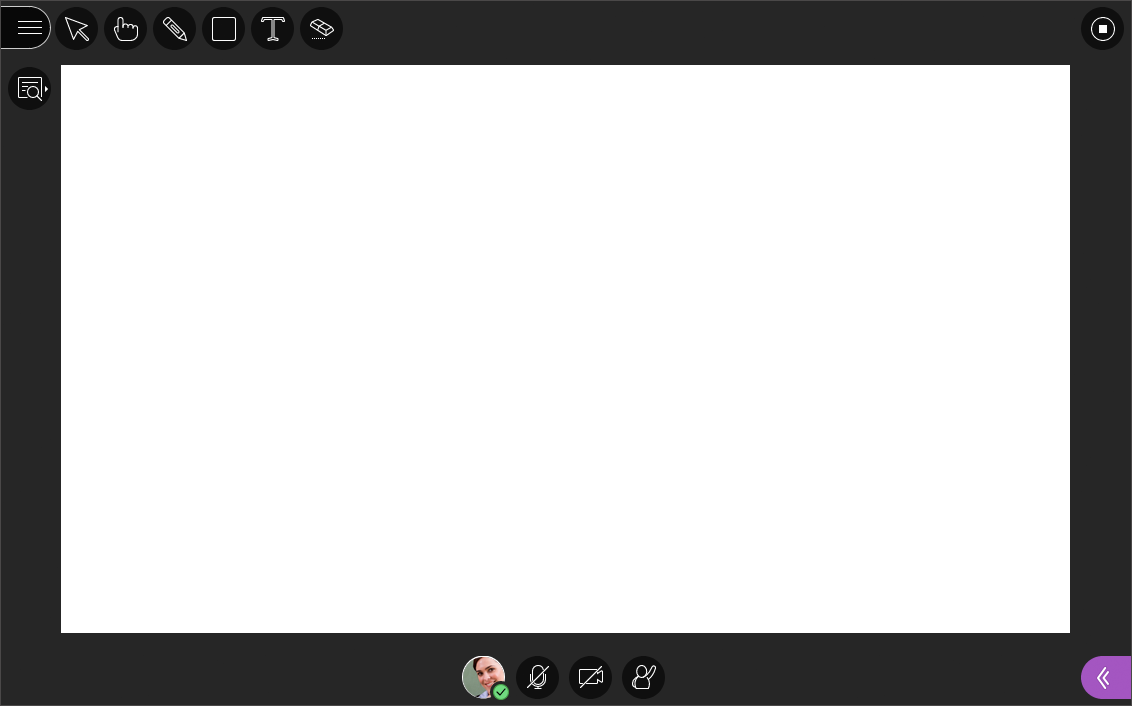
- Open the purple arrow tab in the bottom right corner.

- You can add a presentation as either a PowerPoint or a PDF. Best practice is to load as a PDF so that you maintain all the pre-set formatting on each slide.
- Remember that animation does not stay when you upload a PowerPoint presentation. If you want to keep your animation then you will need to share your screen.
- Find the icon that is for sharing files.
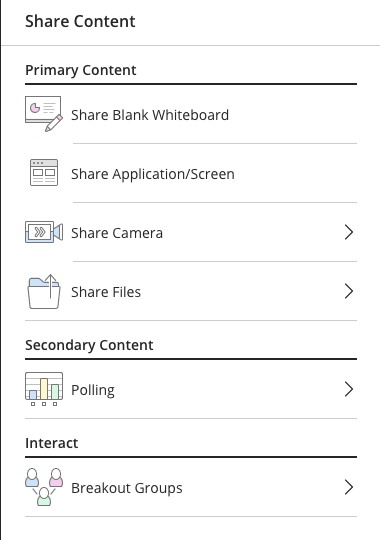
- Choose Share Files and proceed to upload your PowerPoint either as a PPT or PDF.
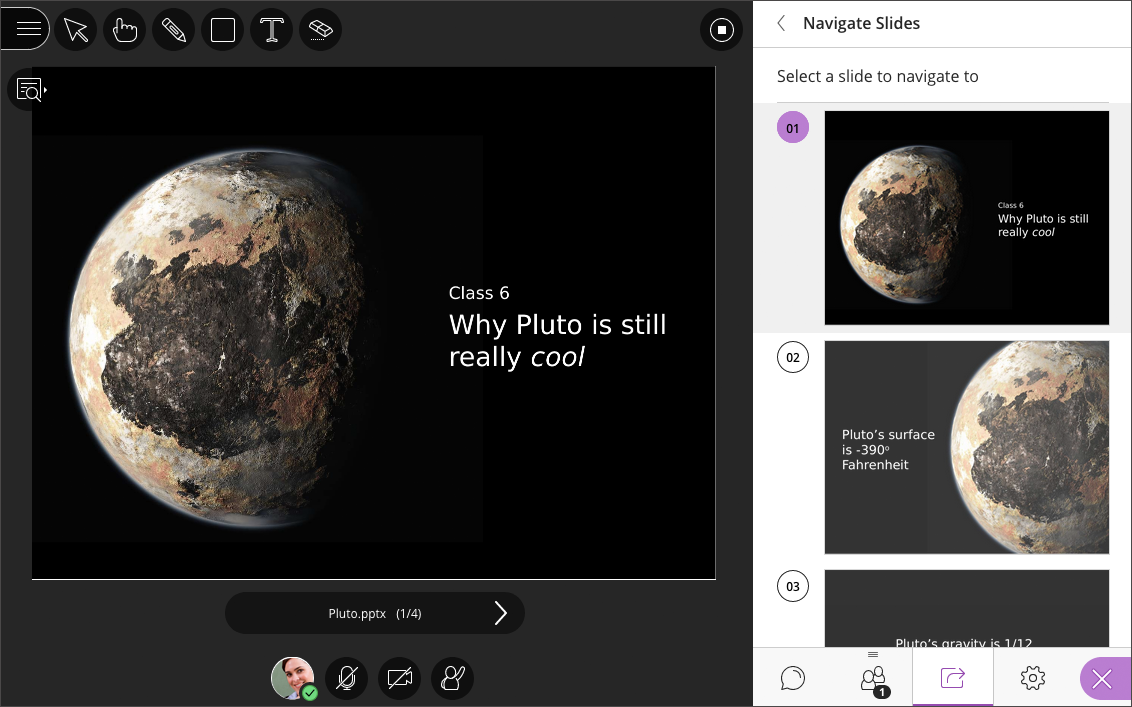
- Once uploaded, it will look like this.
- You need to select the slide on the right-hand side for it to appear in the main screen for the students.
Students accessing your PPTs
- If you want your students to have access to your PowerPoints you will need to set up a folder in Blackboard for each tutorial to improve your students’ learning experience.
- You can open your unit in two browsers so you can see content in your class and be in the Collaborate session at the same time.
- This allows you to share where the folder link sits in Blackboard by copying the URL address and pasting it into the Collaborate Ultra chat window.
Share files for students to use
- If there is a specific video, journal article or website that you want to share with students it can be effective to provide them with a link via the chat.
- Students can also share something they have found by using the chat function
- You might find it useful to collate links after your session and either email, put in an announcement or add to your resources folder on Blackboard for all students to access.
Share your screen
- Sharing your screen allows you to run your PowerPoint through the PowerPoint application, which means that all of your animations and links will work.
- It also allows you to share anything on the internet or your desktop with your students as you navigate the space. This can be a useful way to show them around the Blackboard site for your unit.
- Once you have shared your application you will run your PowerPoint or show the internet/files as normal.
- Note: Always remember to click the Share Audio at the bottom of the Share application window or students will not be able to hear any of the audio embedded in your PowerPoint or any videos you are sharing.
Share a whiteboard
- Sharing the whiteboard allows the students to write on a blank screen.
- There are various tools they can use. The full list can be accessed here - Blackboard whiteboard tools.
- These annotation tools can also be used over PPT slides or files.
Share an application
- When sharing an application/video or website make sure that you have a specific purpose or students will quickly lose interest.
- For instance, if there is software they need to learn how to use, this is a great example of using the share application to show students how to use the application that directly relates to what they need to know and do.
- This can be sharing an application like Camtasia for video production or a web-based application such as a drawing program.
Share a video
- When sharing videos, make sure to pick videos that are short and are relevant to the topic or assignment. It is always good practice to stop videos after a chunk of information has been provided, discuss it and then use a polling tool to see how people are going with that concept.
- Choose videos that do not have too much fast motion. A car race uses more bandwidth and can become very choppy for students to view compared to a video with people reporting or interviewing others.
- If you need to show a video that has lots of motion, providing the link for students in the chat and having them watch the video using their own devices is a better option.
Sharing a website
- There are a lot of great websites out there that students may go to but may not know how to use them. Showing students websites that they will need to frequent and showing them how to search and find what they need for their profession is a great use of sharing a website.
- Another good use for sharing a website is to take students through a virtual tour of a museum, hospital or construction site, showing them virtually the different parts, equipment, stages or other important aspects of a site that link to their profession or assessment.
- You can share a website by sharing your screen and navigating through your website browser as well. Sometimes this works more efficiently than the Share a Website function.
More information can be found on the Blackboard site – Share content
(Please note - it's better to refer to the Online version rather than export, as it's always up to date)